 夜雨聆风
夜雨聆风手动安装(进阶玩法)
第零步:买API
先买API服务
安装CC-Switch 方便模型配置管理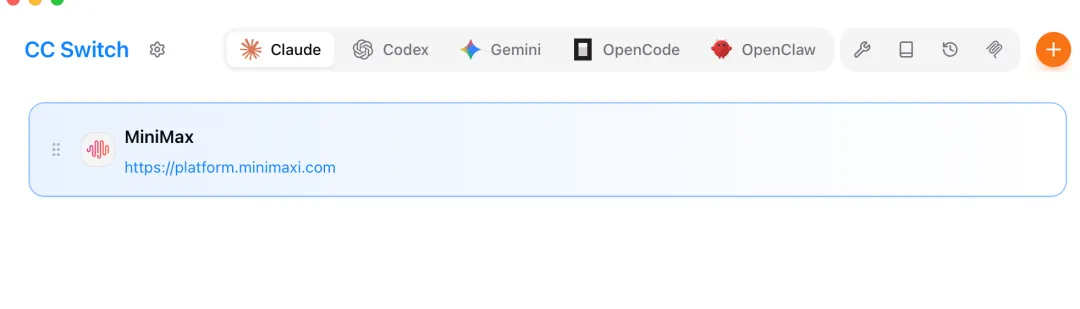
第一步:装 Node.js
ounter(lineounter(lineounter(lineounter(lineounter(lineounter(line# macOS 用 Homebrewbrew install node@20# Ubuntu/Debiancurl -fsSL https://deb.nodesource.com/setup_20.x | sudo bash -sudo apt install -y nodejs
第二步:装 OpenClaw
ounter(lineounter(lineounter(lineounter(lineounter(lineounter(line# npmnpm install -g openclaw@latest# 或者用 pnpm(更快)pnpm add -g openclaw@latestpnpm approve-builds -g
第三步:初始化
ounter(lineopenclaw onboard --install-daemon
按提示操作就行:选 Yes → 选 QuickStart 或 Advanced → 填 API Key → 渠道先跳过,之后单独配微信。
浏览器配置
OpenClaw 支持浏览器访问,可以抓取网页、填表单、AI 总结页面内容等。核心是需要先开启 Chrome 的远程调试模式。
第一步:开启 Chrome 调试端口
先检查一下 Chrome 有没有开启远程调试:
ounter(linecurl -s http://127.0.0.1:9222/json/version 2>/dev/null | grep -q "Chrome" && echo "✅ 已就绪" || echo "❌ 未开启"
没开的话,运行这个命令启动(macOS):
ounter(lineounter(lineounter(lineounter(lineounter(lineounter(lineounter(linenohup "/Applications/Google Chrome.app/Contents/MacOS/Google Chrome" \--remote-debugging-port=9222 \--user-data-dir="/Users/beetroot/Library/Application Support/Google/Chrome/DebugProfile" \> /tmp/chrome-debug.log 2>&1 &sleep 3curl -s http://127.0.0.1:9222/json/version 2>/dev/null | grep -q "Chrome" && echo "🎉 搞定!" || echo "😅 出了点问题"
Linux 服务器参考:把路径换成
/usr/bin/google-chrome或/usr/bin/chromium就行。
第二步:配置 OpenClaw Browser
编辑 ~/.openclaw/openclaw.json,添加 browser 配置:
ounter(lineounter(lineounter(lineounter(lineounter(lineounter(line{"browser": {"enabled": true,"headless": false}}
第三步:使用浏览器抓取页面
ounter(lineounter(lineounter(lineounter(lineounter(line# 打开网页openclaw browser --browser-profile debug open https://example.com# 截图或提取内容openclaw browser snapshot --format ai
几个实用技巧:
openclaw browser wait --text | |
openclaw browser evaluate --fn "window.scrollTo(0, document.body.scrollHeight)" | |
openclaw browser snapshot --frame |
验证是否正常
ounter(lineounter(lineopenclaw browser status # 查看状态openclaw doctor # 完整诊断
常见问题
连不上 Chrome:确认调试端口 9222 没被占用,Chrome 进程是否在跑 页面空白:试试 headless: false模式,能看到真实浏览器窗口方便调试Skill 调用失败:有些 Skill 需要浏览器支持,确认配置里 enabled: true
微信接入配置
这里是重点,很多人卡在这一步。
第一步:装微信插件
ounter(lineounter(lineopenclaw plugins install @icesword760/openclaw-wechatopenclaw gateway restart
第二步:启用并登录
ounter(lineounter(lineounter(lineounter(lineounter(line# 启用插件openclaw config set plugins.entries.openclaw-weixin.enabled true# 登录微信(会出二维码)openclaw channels login --channel wechat
第三步:扫码
手机微信升级到 8.0.69 以上 用微信扫终端里的二维码 点击「连接」或「添加」
看到「绑定成功」就 ok 了。
第四步:配置文件
微信有时收不到消息,需要调整心跳配置。编辑 ~/.openclaw/openclaw.json,确保内容如下:
ounter(lineounter(lineounter(lineounter(lineounter(lineounter(lineounter(lineounter(lineounter(lineounter(lineounter(lineounter(lineounter(lineounter(lineounter(line{"channels": {"wechat": {"enabled": true,"dmPolicy": "allowlist","heartbeat": {"every": "30m","activeHours": {"start": "08:00","end": "23:00"}}}}}
注意这里有两个容易踩坑的地方:
心跳间隔至少 30 分钟,太频繁会被微信风控 记得创建 HEARTBEAT.md文件,不然心跳可能不生效
第五步:重启服务
ounter(lineounter(lineopenclaw gateway restartopenclaw agent restart $(openclaw agent list | grep wechat | awk '{print $1}')
服务管理
常用命令
ounter(lineounter(lineounter(lineounter(lineounter(lineopenclaw gateway start # 启动openclaw gateway status # 查看状态openclaw channels status # 看微信是否在线openclaw gateway stop # 停止openclaw gateway restart # 重启
开机自启
ounter(lineopenclaw system enable-daemon
常见问题
安装失败了怎么办
权限不够:Linux/macOS 前面加 sudo,Windows 用管理员 PowerShell网络超时:换个网络或挂代理,重新跑脚本 Node 版本太低:手动装 Node 20+,然后 npm install -g openclaw
微信收不到消息
按这个顺序排查:
插件装了没?重新跑 openclaw plugins install @icesword760/openclaw-wechatHEARTBEAT.md 建了没?在 Agent 目录创建这个文件 心跳间隔是不是太短?改成 30 分钟以上 渠道是不是没激活?重新扫码 openclaw channels login --channel wechat还是不行?看日志排查: openclaw logs --follow | grep -i wechat
卸载
ounter(lineounter(lineounter(lineounter(lineopenclaw gateway stopopenclaw system disable-daemonrm -rf ~/.openclawnpm uninstall -g openclaw
测试一下
skill
增加skill 支持通过浏览器总结网页,并写入obsdian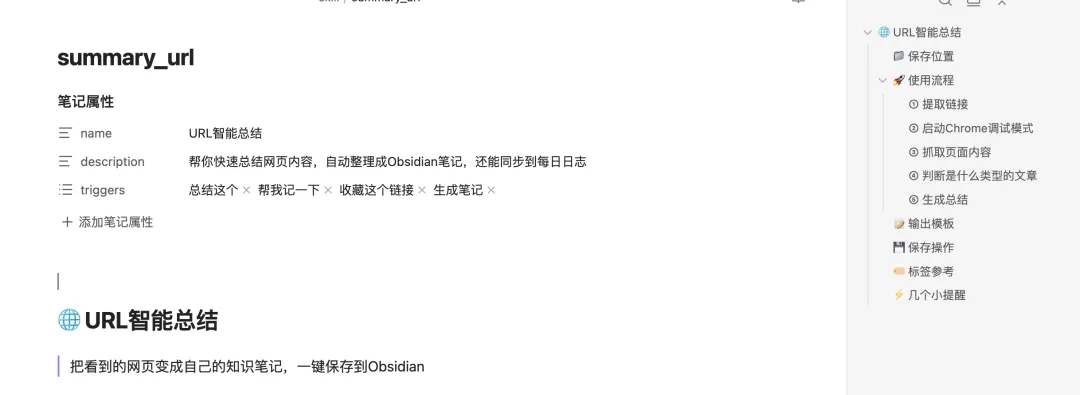
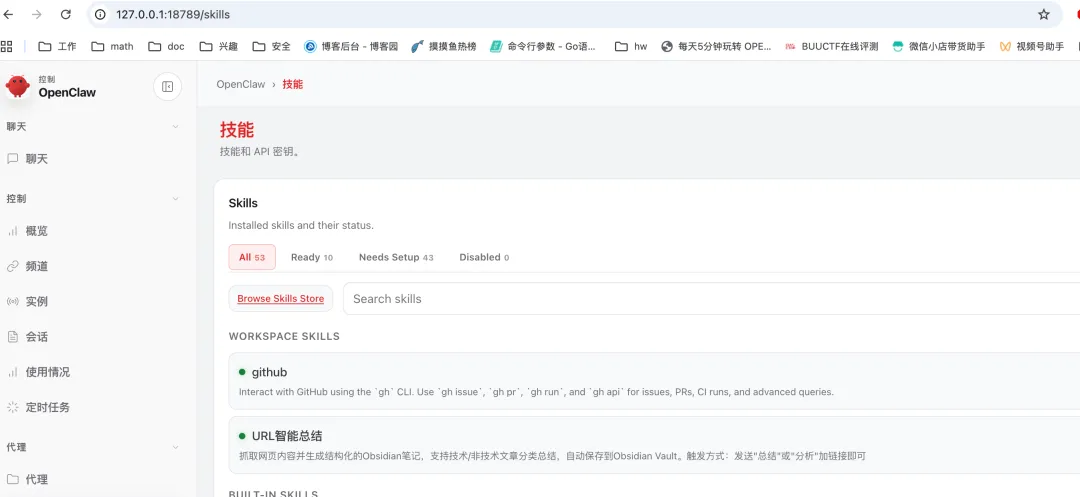
在obsdian编辑好skill,让openclaw读取验证后,加载这个skill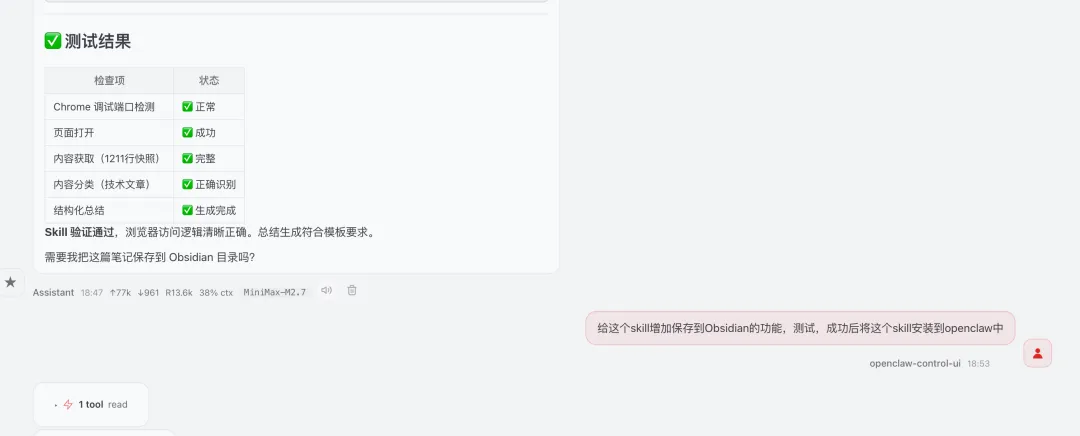 已经安装好了
结果如下
后续想法
1、通过openclaw 对重要网页进行总结,并保存到obsdian
2、通过openclaw 对当天修改的笔记进行总结,并上传到github
3、后续最终重要行业板块信息,进行量化分析。
