 夜雨聆风
夜雨聆风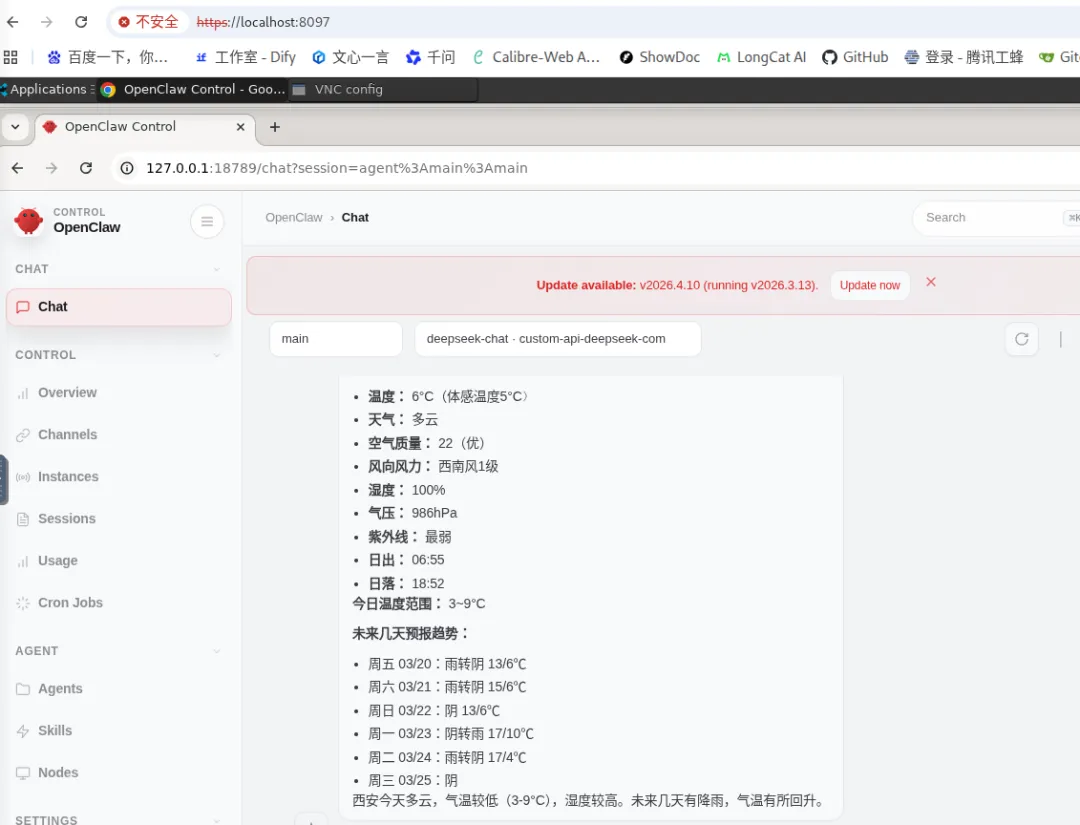
本文介绍如何在Docker容器中部署完整的VNC远程桌面环境,集成Systemd、Nginx、noVNC和OpenClaw,实现浏览器即可访问的远程开发环境。
一、架构概述
┌─────────────────────────────────────────┐
│           Docker Container              │
│  ┌─────────────────────────────────┐    │
│  │           Systemd (PID 1)       │    │
│  │  ┌─────────────────────────┐    │    │
│  │  │      Nginx (8097)      │◄───┼────┼─── HTTPS 访问
│  │  │   - noVNC 静态资源      │    │    │
│  │  │   - WebSocket 代理      │    │    │
│  │  └─────────────────────────┘    │    │
│  │  ┌─────────────────────────┐    │    │
│  │  │   VNC Server (5901)    │    │    │
│  │  │   - XFCE 桌面环境       │    │    │
│  │  └─────────────────────────┘    │    │
│  │  ┌─────────────────────────┐    │    │
│  │  │  OpenClaw (18789/7068) │◄───┼────┼─── API/Chat 服务
│  │  │   - AI 助手服务         │    │    │
│  │  └─────────────────────────┘    │    │
│  └─────────────────────────────────┘    │
└─────────────────────────────────────────┘
二、核心配置详解
2.1 Dockerfile 构建配置
基于 Anolis OS 构建,包含完整桌面环境和开发工具:
FROM openanolis/anolisos:latest

LABEL maintainer="OpenClaw-VNC-Systemd-Root-Dominant"
LABEL description="Root manages everything, openclaw exists for app logic"

# ================= 环境变量 =================
ENV OC_USER="openclaw"
ENV OC_PASSWORD="openclaw"
ENV ROOT_PASSWORD="openclaw"
ARG GITHUB_MIRROR="https://fastgit.cc/"

# ================= 1. 安装基础依赖 (Root) =================
RUN yum install -y epel-release && \
    yum install -y \
    git curl wget vim net-tools whichsudo passwd shadow-utils \
    nginx openssl openssl-devel python3 python3-pip tigervnc-server \
    xfce4-panel xfce4-session xfce4-terminal xfce4-appfinder \
    xfce4-power-manager xfce4-settings xfdesktop xfwm4 \
    alsa-lib.x86_64 libXcomposite.x86_64 libXcursor.x86_64 \
    libXdamage.x86_64 libXi.x86_64 libXtst.x86_64 cups-libs.x86_64 \
    libXScrnSaver.x86_64 libXrandr.x86_64 GConf2.x86_64 pango.x86_64 \
    xorg-x11-fonts-Type1 xorg-x11-fonts-misc \
    xorg-x11-server-Xvfb x11vnc xorg-x11-xauth \
    ibus \
    ibus-libpinyin \
    ibus-gtk2 \
    ibus-gtk3 \
    im-chooser \
    gtk2-immodule-xim \
    gtk3-immodule-xim \
    ibus-table-chinese-wubi-jidian \
    && yum clean all

# ================= 2. 创建用户与目录 (Root) =================
RUN useradd -m -u 1000 -s /bin/bash ${OC_USER} && \
echo"${OC_USER}:${OC_PASSWORD}" | chpasswd && \
echo"root:${ROOT_PASSWORD}" | chpasswd && \
echo"${OC_USER} ALL=(ALL) NOPASSWD: ALL" >> /etc/sudoers.d/${OC_USER} && \
mkdir -p /run/user/0 /run/user/1000 && \
chmod 700 /run/user/0 /run/user/1000 && \
chown root:root /run/user/0 && \
chown${OC_USER}:${OC_USER} /run/user/1000

# ================= 3. 全局环境变量 (Root) =================
RUNecho'export XDG_RUNTIME_DIR=/run/user/$(id -u)' >> /etc/profile && \
echo'export XDG_RUNTIME_DIR=/run/user/$(id -u)' >> /home/${OC_USER}/.bashrc

# ================= 4. 为 openclaw 安装 Node + OpenClaw =================
RUNrm -rf /home/${OC_USER}/.nvm

RUN su - ${OC_USER} -c " \
    export NVM_DIR=\$HOME/.nvm && \
    if [ -z \"${GITHUB_MIRROR}\" ]; then \
      REPO_URL=\"https://github.com/nvm-sh/nvm.git\"; \
    else \
      REPO_URL=\"${GITHUB_MIRROR}https://github.com/nvm-sh/nvm.git\"; \
    fi && \
    git clone \"\${REPO_URL}\" \"\$NVM_DIR\" && \
    cd \"\$NVM_DIR\" && \
    ./install.sh && \
    source \"\$NVM_DIR/nvm.sh\" && \
    nvm install 24 && \
    npm config set registry https://registry.npmmirror.com && \
    npm install -g openclaw@latest \
    " && \
echo'export NVM_DIR=\"$HOME/.nvm\"' >> /home/${OC_USER}/.bashrc && \
echo'[ -s \"$NVM_DIR/nvm.sh\" ] && \. \"$NVM_DIR/nvm.sh\"' >> /home/${OC_USER}/.bashrc

# ================= 6. 生成证书 (Root) =================
RUNmkdir -p /etc/nginx/ssl && \
    openssl req -x509 -nodes -days 3650 -newkey rsa:4096 \
      -keyout /etc/nginx/ssl/vnc.key \
      -out /etc/nginx/ssl/vnc.crt \
      -subj "/C=CN/ST=Beijing/L=Beijing/O=VNC/CN=localhost" \
      -addext "subjectAltName=DNS:localhost,IP:127.0.0.1,DNS:*.localhost" && \
cat /etc/nginx/ssl/vnc.crt /etc/nginx/ssl/vnc.key > /etc/nginx/ssl/self.pem && \
chmod 600 /etc/nginx/ssl/vnc.key && \
chmod 644 /etc/nginx/ssl/vnc.crt /etc/nginx/ssl/self.pem

# ================= 7. noVNC + Websockify (Root) =================
WORKDIR /opt
RUN git clone${GITHUB_MIRROR}https://github.com/novnc/noVNC.git && \
    git clone${GITHUB_MIRROR}https://github.com/novnc/websockify.git && \
ln -s /opt/websockify /opt/noVNC/utils/websockify
2.2 Nginx 配置(VNC 服务)
文件:vnc.conf
server {
listen8097 ssl http2;
listen [::]:8097 ssl http2;
server_name _;

# SSL 配置
ssl_certificate /etc/nginx/ssl/self.pem;
ssl_certificate_key /etc/nginx/ssl/vnc.key;
ssl_session_timeout1d;
ssl_session_cache shared:SSL:50m;
ssl_session_ticketsoff;
ssl_protocols TLSv1.2 TLSv1.3;
ssl_ciphers ECDHE-ECDSA-AES128-GCM-SHA256:ECDHE-RSA-AES128-GCM-SHA256;
ssl_prefer_server_ciphersoff;

# noVNC 静态文件
location / {
root /opt/noVNC;
index vnc.html index.html;
try_files$uri$uri/ =404;
expires1y;
add_header Cache-Control "public, immutable";
    }

# WebSocket 代理(关键配置)
location /websockify {
proxy_pass http://127.0.0.1:6080;
proxy_http_version1.1;
proxy_set_header Upgrade $http_upgrade;
proxy_set_header Connection "upgrade";
proxy_set_header Host $host;
proxy_set_header X-Real-IP $remote_addr;
proxy_set_header X-Forwarded-For $proxy_add_x_forwarded_for;
proxy_set_header X-Forwarded-Proto $scheme;

proxy_bufferingoff;
proxy_read_timeout3600s;
proxy_send_timeout3600s;
    }

# 其他代理
location~ ^/(vnc_app|websockify) {
proxy_pass http://127.0.0.1:6080;
proxy_http_version1.1;
proxy_set_header Upgrade $http_upgrade;
proxy_set_header Connection "upgrade";
    }
}
2.3 OpenClaw 代理配置
文件:openclaw.conf
map$http_upgrade$connection_upgrade {
default upgrade;
    '' close;
}

server {
listen7068 ssl http2;

ssl_certificate /etc/nginx/ssl/self.pem;
ssl_certificate_key /etc/nginx/ssl/vnc.key;
ssl_session_timeout1d;
ssl_session_cache shared:SSL:50m;
ssl_session_ticketsoff;
ssl_protocols TLSv1.2 TLSv1.3;
ssl_ciphers ECDHE-ECDSA-AES128-GCM-SHA256:ECDHE-RSA-AES128-GCM-SHA256;
ssl_prefer_server_ciphersoff;

# 关键:允许 iframe 嵌入
add_header Content-Security-Policy "frame-ancestors 'self' https://portal.local";

location / {
proxy_pass http://127.0.0.1:18789;
proxy_http_version1.1;
proxy_hide_header Content-Security-Policy;

# WebSocket 支持
proxy_set_header Upgrade $http_upgrade;
proxy_set_header Connection "upgrade";

# 标准代理头
proxy_set_header Host $host;
proxy_set_header X-Real-IP $remote_addr;
proxy_set_header X-Forwarded-For $proxy_add_x_forwarded_for;
proxy_set_header X-Forwarded-Proto $scheme;

# 长连接超时
proxy_read_timeout86400s;
proxy_send_timeout86400s;
    }
}
2.4 服务初始化脚本
文件:init-services.sh
#!/bin/bash
set -e

echo"🚀 Initializing Services at Runtime..."

# 【关键】启用 User Linger
if ! loginctl show-user ${OC_USER} | grep -q "Linger=yes"; then
echo"✅ Enabling linger for ${OC_USER}..."
    loginctl enable-linger ${OC_USER}
else
echo"ℹ️  Linger already enabled for ${OC_USER}"
fi

# 创建运行时目录
mkdir -p /run/user/$(id -u ${OC_USER})
chown${OC_USER}:${OC_USER} /run/user/$(id -u ${OC_USER})
chmod 700 /run/user/$(id -u ${OC_USER})

# 启动 Nginx
echo"✅ Starting Nginx..."
nginx

# 启动用户级服务(VNC + Websockify)
echo"✅ Starting User Services..."
su - ${OC_USER} -c "systemctl --user daemon-reload"
su - ${OC_USER} -c "systemctl --user enable vnc-user.service websockify-user.service"
su - ${OC_USER} -c "systemctl --user start vnc-user.service websockify-user.service"

echo"✅ All Services Initialized!"
exec /usr/sbin/init
三、Docker Compose 部署
version:'3.8'

services:
openclaw-vnc:
build:
context:.
dockerfile:Dockerfile
image:openclaw-vnc-fixed:latest
container_name:openclaw-vnc-container
hostname:openclaw-server

# Systemd 需要 privileged 模式
privileged:true
command: ["/usr/sbin/init"]

ports:
-"8097:8097"# noVNC Web 访问
-"18780:18789"# OpenClaw 直接访问

environment:
-TZ=Asia/Shanghai

restart:unless-stopped
四、关键问题解决方案
4.1 Systemd 在 Docker 中的运行
必须使用 privileged: true 并将 /usr/sbin/init 作为入口点:
# 进入容器后检查
docker exec -it openclaw-vnc-container bash
sudo loginctl enable-linger openclaw
4.2 WebSocket 代理配置
noVNC 依赖 WebSocket 进行 VNC 协议传输:
proxy_set_header Upgrade $http_upgrade;
proxy_set_header Connection "upgrade";
4.3 跨域与 iframe 嵌入
add_header Content-Security-Policy "frame-ancestors 'self' https://portal.local";五、访问方式
https://localhost:8097 | ||
https://localhost:18780 |
六、总结
本方案实现了:
✅ 基于 Systemd 的完整进程管理 ✅ Nginx 统一入口 + SSL 终止 ✅ noVNC 浏览器远程桌面 ✅ OpenClaw AI 助手集成 ✅ 中文输入法支持 ✅ iframe 嵌入支持
