 夜雨聆风
夜雨聆风


NestJS 接入 Swagger 文档,5 分钟搞定
NestJS 接入 Swagger 文档,5 分钟搞定
后端经常把接口文档给到前端,今天我们就用 NestJS + Swagger,直接把接口文档自动生成出来,写完接口,文档也跟着有了。
一句话:写代码 ≈ 写文档。
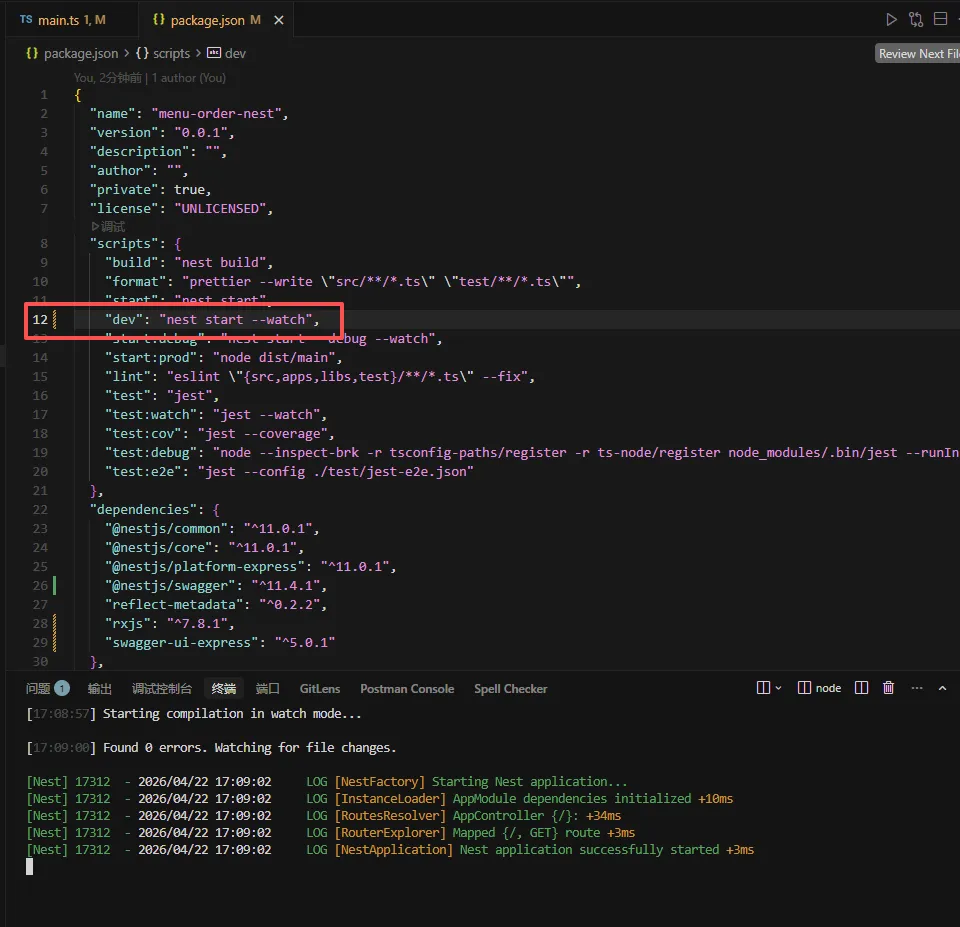
上期,我们创建了项目,先来安装依赖

安装完依赖,启动项目 pnpm dev
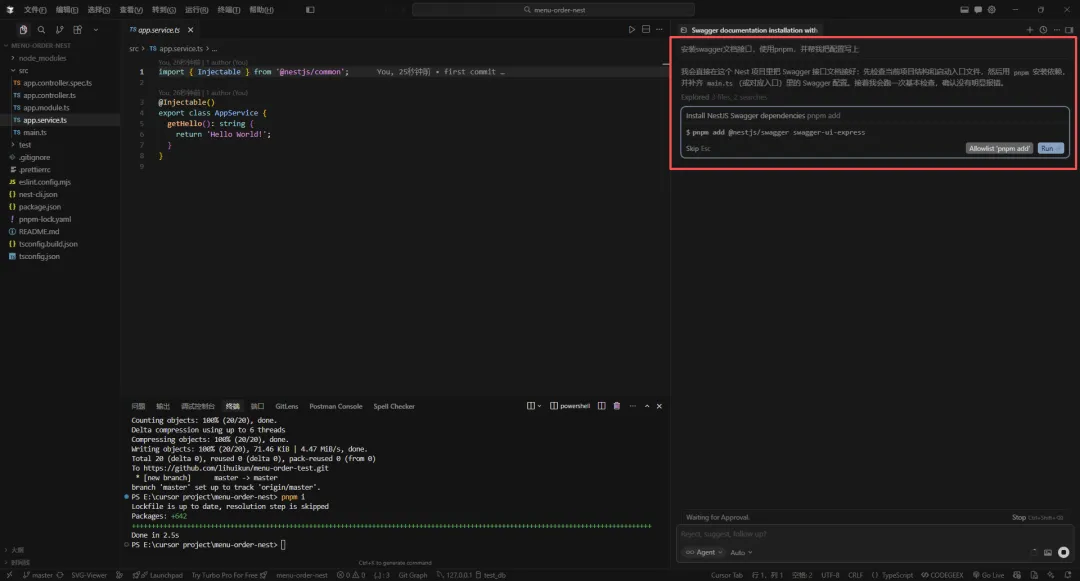
一、先装依赖
pnpm add @nestjs/swagger swagger-ui-express或者你用 npm / yarn 也一样,别纠结工具。
二、在 main.ts 里接入 Swagger
打开你的 main.ts,加这段:
import { NestFactory } from'@nestjs/core'
import { AppModule } from'./app.module'
import { DocumentBuilder, SwaggerModule } from'@nestjs/swagger'
asyncfunctionbootstrap() {
const app = awaitNestFactory.create(AppModule)
const config = newDocumentBuilder()
.setTitle('情侣菜单 API')
.setDescription('接口文档说明')
.setVersion('1.0')
.build()
constdocument = SwaggerModule.createDocument(app, config)
SwaggerModule.setup('api', app, document)
await app.listen(3000)
}
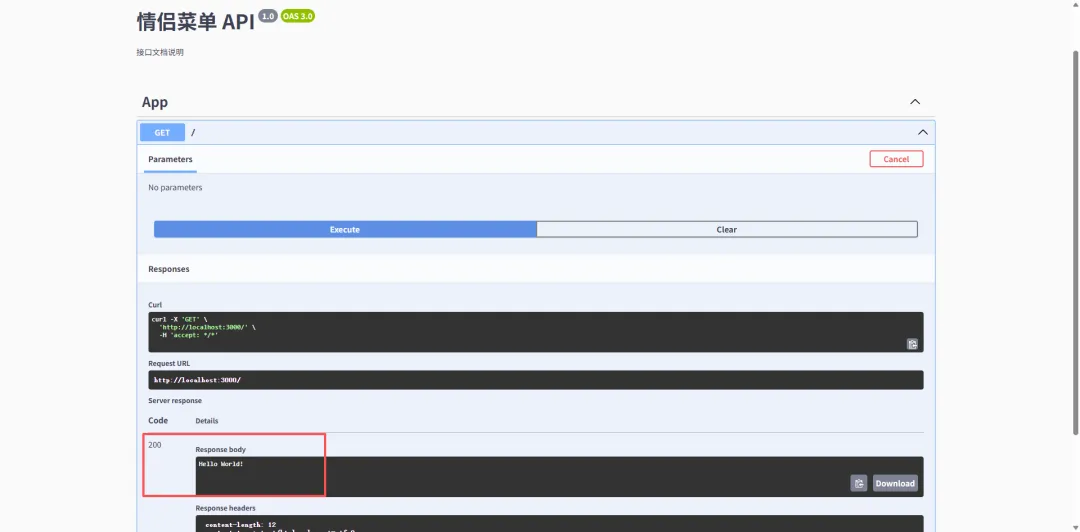
voidbootstrap()启动项目之后,打开浏览器:
http://localhost:3000/api-docs你会看到一个界面——对,就是那种“看起来很专业”的接口文档页面。
三、给接口加点“灵魂”(装饰器)
光有文档框架不够,我们还要让接口“说人话”。
1️⃣ Controller 写法
import { Controller, Get } from'@nestjs/common'
import { ApiTags, ApiOperation } from'@nestjs/swagger'
@ApiTags('菜单模块')
@Controller('menu')
exportclassAppController {
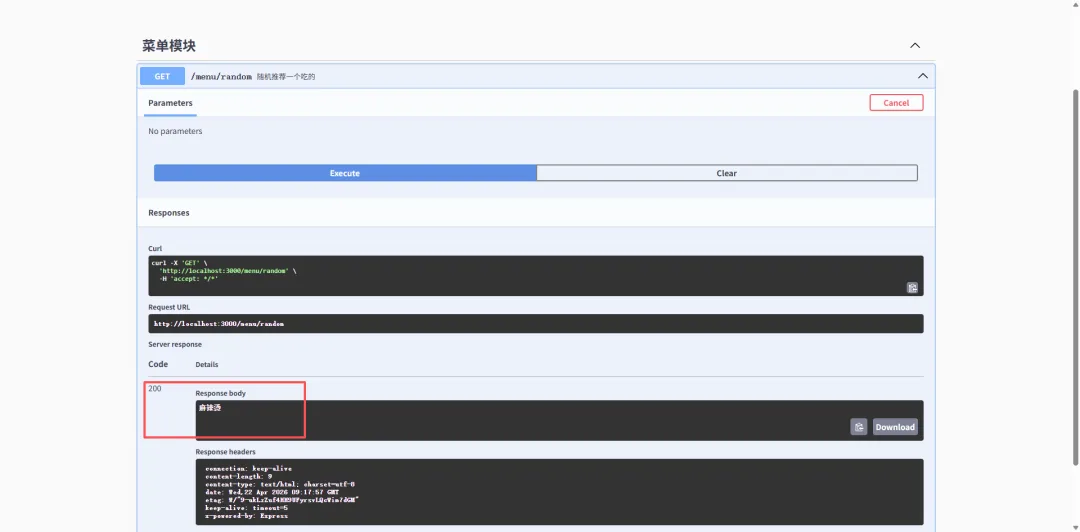
@Get('random')
@ApiOperation({ summary: '随机推荐一个吃的' })
getRandomMenu() {
return'麻辣烫'
}
}效果:
👉 文档里会自动出现「菜单模块」
👉 接口名字也变成“随机推荐一个吃的”
2️⃣ DTO(重点来了)
Swagger 最牛的地方,其实是这里。
import { ApiProperty } from'@nestjs/swagger'

exportclassCreateMenuDto {
@ApiProperty({ example: '火锅', description: '菜名' })
name: string

@ApiProperty({ example: 5, description: '推荐指数' })
rating: number
}
然后在接口里用:
import { Body, Post } from'@nestjs/common'
import { ApiOperation } from'@nestjs/swagger'

@Post()
@ApiOperation({ summary: '新增菜单' })
create(@Body() dto: CreateMenuDto) {
return dto
}
效果直接拉满:
👉 Swagger 自动生成参数结构
👉 自动带 example
👉 前端一看就懂
四、一个小细节(很多人踩坑)
如果你发现:
👉 DTO 没显示
👉 类型不对
大概率是你没开这个:
// tsconfig.json
{
"compilerOptions":{
"emitDecoratorMetadata":true,
"experimentalDecorators":true
}
}
这俩必须开,不然 Swagger 就是“瞎子”。
五、进阶一点(可选但很香)
如果你想让文档更像“正经项目”:
const config = newDocumentBuilder()
  .setTitle('情侣菜单 API')
  .setDescription('今天吃啥,不再吵架')
  .setVersion('1.0')
  .addBearerAuth() // 加 token
  .build()
再配合:
import { ApiBearerAuth } from'@nestjs/swagger'

@ApiBearerAuth()
👉 直接支持 token 鉴权测试接口。
最后说点实话
很多人写接口文档,是写到一半就摆烂。
但你用 Swagger 之后——文档不再是负担,而是顺手就有的产物。
代码写完,文档就在那里。
一句话总结
👉 用 Swagger,让你的 NestJS 项目,从“能跑”升级到“专业”。