ARTICLE · 1356963
装插件前必看:我整理的 DSH 插件安全与避坑清单
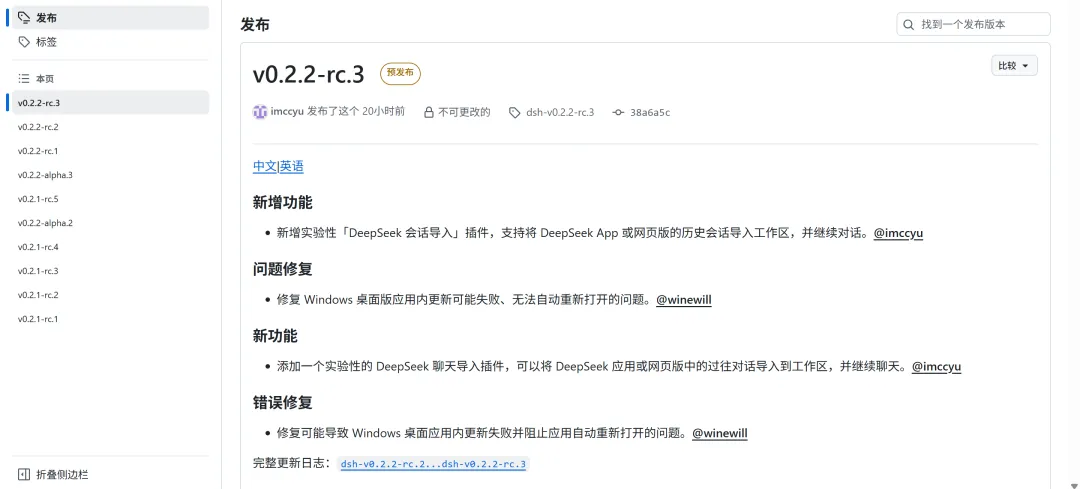
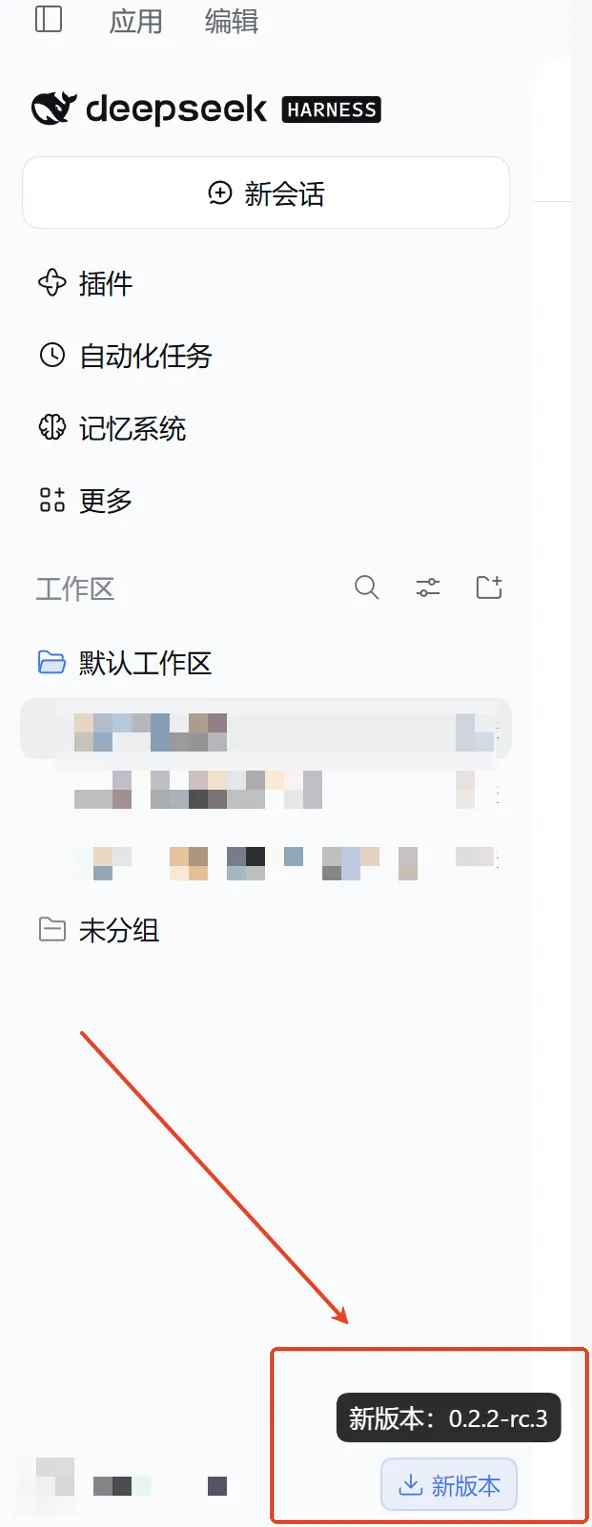
DSH的配置、日常的会话、以及咱们安装的插件的相关数据主要在~/.dsh目录,DSH版本更新一般不会直接删数据。
需要注意的是,预览版存在格式变更和不兼容风险,咱们在升级之前最好是整个.dsh目录复制备份一份。
此电脑-》用户-》用户名-》.dsh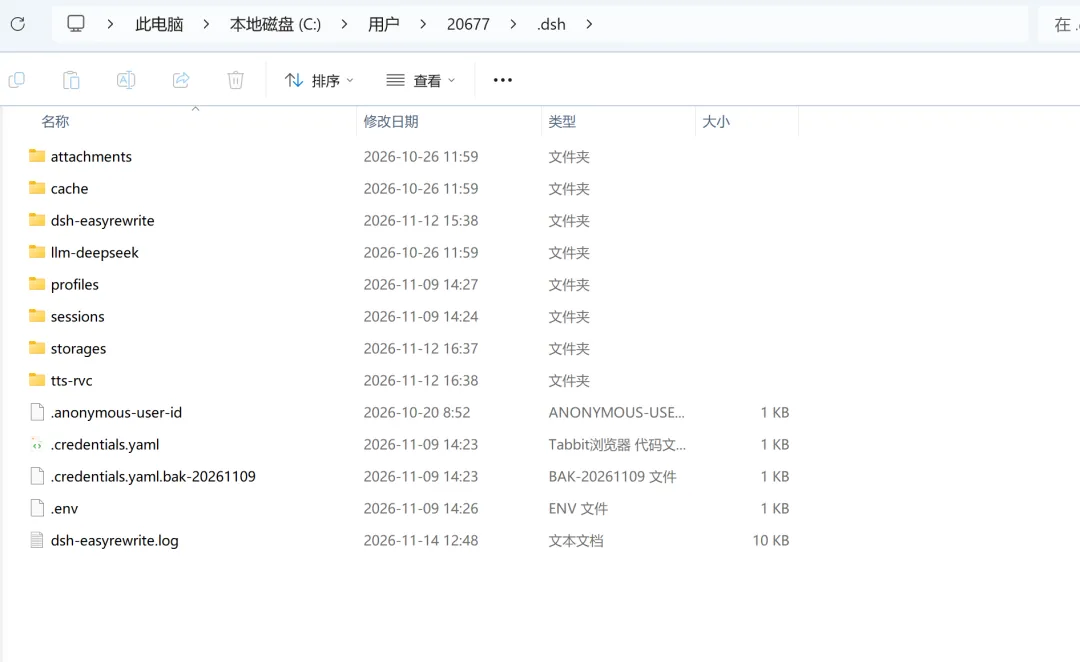
当出现跨版本升级后会话打不开、插件加载失败等情况时,可以及时还原数据、回退旧版本程序。
C:\Users\你的用户名\.dsh\profiles\ 下-》新建一个文件夹-》并命名,比如 cleanweb。
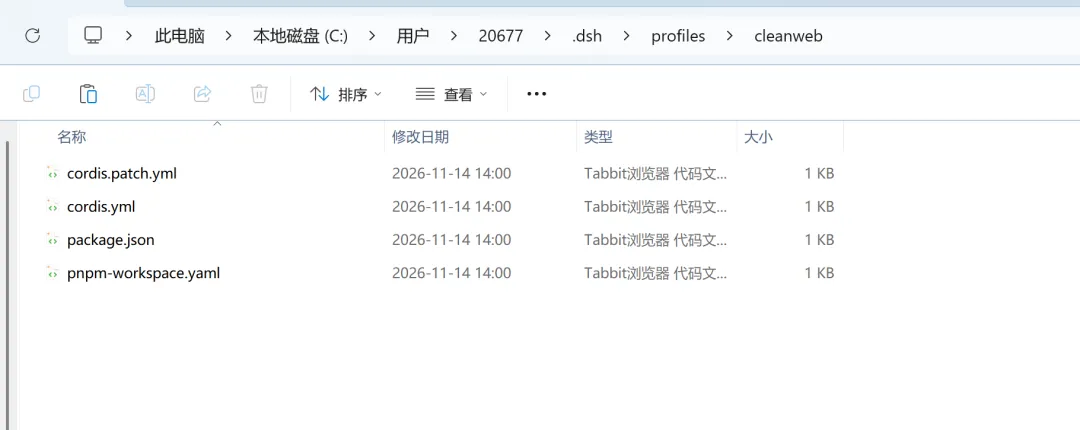
cordis.patch.yml:
# Your patch layer for this dsh profile, applied after every bundle layer:# a top-level YAML array of loader patch entries (id-targeted config# overrides, disables, and insert lists; `!!js` expressions allowed).[]
cordis.yml:
# dsh profile root — an empty entry list. The tree is composed as patches:# each bundle in package.json's dsh.profile.bundles, then cordis.patch.yml, then any# --patch overlays. Edit cordis.patch.yml, not this file.[]
package.json:(注意 name 改成 dsh-profile- + 你的文件夹名)
{"name": "dsh-profile-cleanweb","private": true"dependencies": {},"dsh": {"profile": {"bundles": ["@deepseek-ai/dsh-base","@deepseek-ai/dsh-web-app"]}}}
pnpm-workspace.yaml:
packages:- .nodeLinker: hoistedautoInstallPeers: false
建立好后,咱们就可以使用这个Profile进行日常插件、升级测试了。
键盘按住Win+R-》弹出运行框后-》把下面这行整段粘进去-》回车(大家注意自己DSH程序的安装路径,我这里是在D盘的)
"D:\Deepseek\resources\runtime\cli\bin\dsh.cmd" cleanweb --port 8787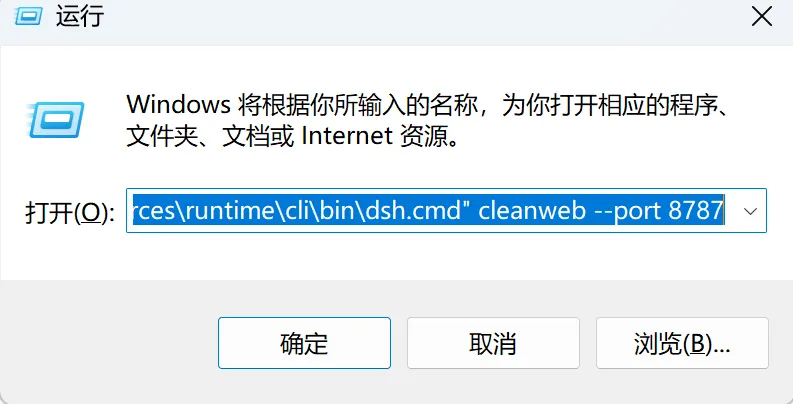
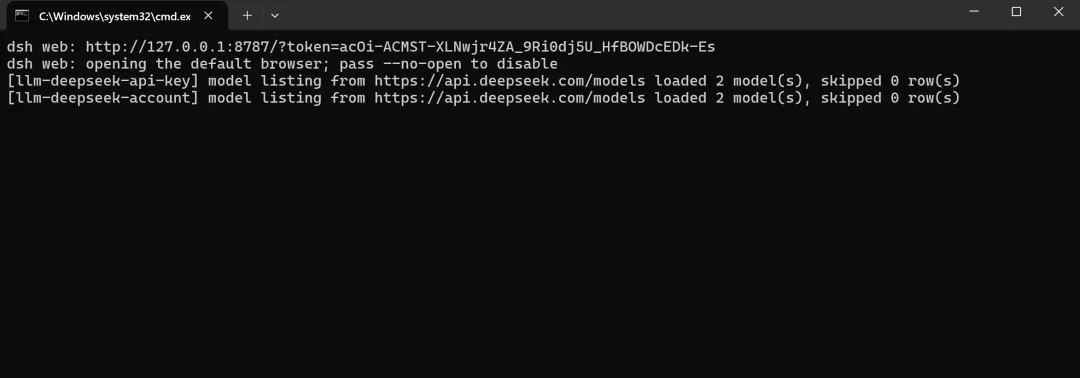
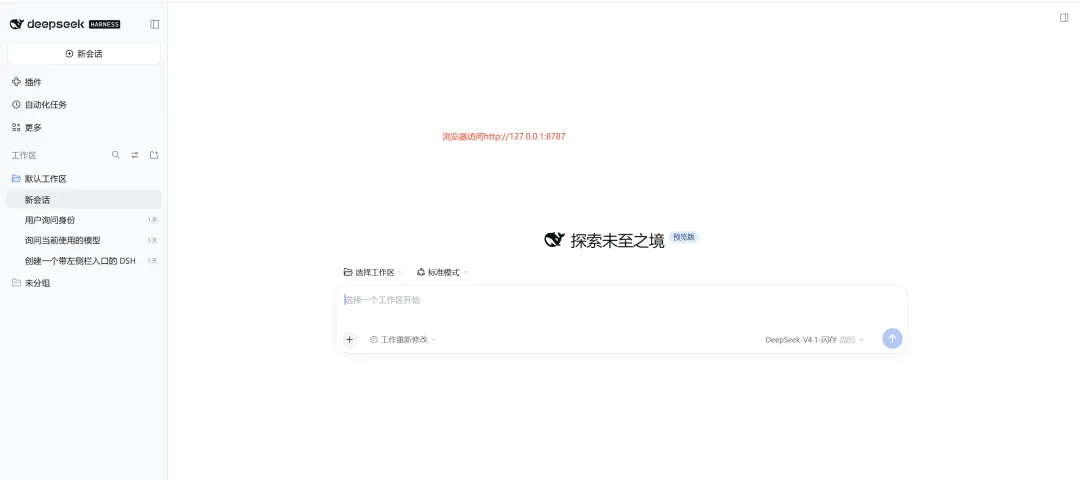
运行窗口出来后,咱们就可以在浏览器访问:http://127.0.0.1:8787 进行插件、升级测试了
现在很多插件都要求给最高权限,但是权限给的越大,出问题的影响范围越大
生源插件很多,但很多插件虽然挂在目录里,实际上已经跑不起来。
建议装之前先看这几个方面:最后更新时间(超过一两个月没动过要警惕),是否声明了兼容的 DSH 版本,作者是否还在回复 Issue 或更新说明,市场里有没有标注维护状态 / 验证状态。
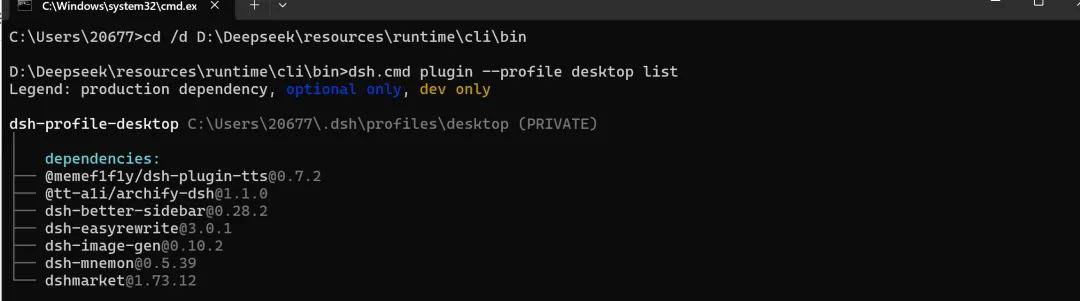
回滚插件版本:把出问题的插件钉回旧版本再启动
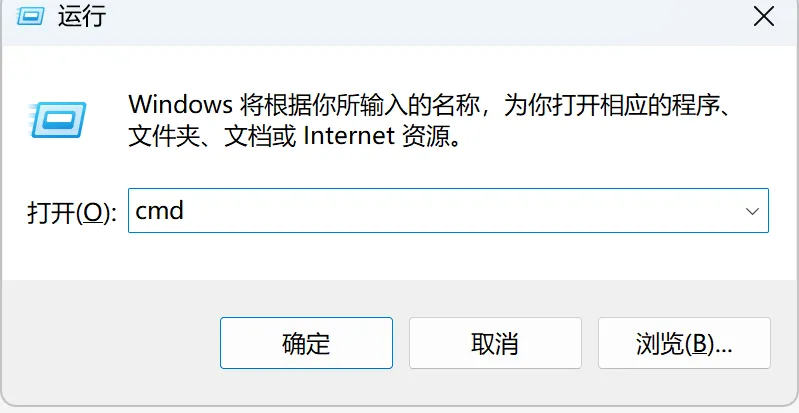
按住键盘Win+R-》输入cmd-》回车
dsh.cmd plugin --profile desktop list //记录当前状态dsh.cmd plugin --profile desktop view dsh-easyrewrite versions //查看dsh-easyrewrite这个插件当前都有哪些可会回退版本dsh.cmd plugin --profile desktop add dsh-easyrewrite@3.0.1 --save-exact //指定安装dsh-easywrite@3.0.1
使用干净 Profile 修复:先进入备用环境,再处理主环境配置
工具辅助检查:社区有人做了兼容性检查相关工具(如 dsh-plugin-health 等),可在临时环境验证插件能否启动
官方也在补充能力:开始支持插件更新失败后尝试恢复旧版本,但目前仍建议以自己备份为主
往期文章:
DeepSeek Harness 真正火的插件都解决了什么?拆解DSH插件当下最刚需的方向
✦ 如果这篇内容对您有用 ✦
点亮右下角的👍赞 和 ♡ 收藏
轻触头像旁 + 关注,不错过每次更新