 夜雨聆风
夜雨聆风阅读目录
• 安装前准备 • Windows 安装流程 • macOS 安装流程 • Telegram 集成使用
安装前准备
系统要求
• Node.js: 需要 Node 22 或更新版本 • 操作系统: • Windows: 推荐使用 WSL2 (Ubuntu) • macOS: 原生支持 • Linux: 原生支持
检查 Node.js 版本
node --version如果版本低于 22,请先升级 Node.js。
Windows 安装流程
方法一:使用安装脚本(推荐)
# 在 PowerShell 中运行iwr-useb https://openclaw.ai/install.ps1 | iex方法二:使用 npm 安装
npm install -g openclaw@latest方法三:使用 WSL2(强烈推荐)
1. 安装 WSL2 Ubuntu • 打开 PowerShell(管理员)运行: wsl --install• 重启电脑并完成 Ubuntu 设置 2. 在 WSL2 中安装 OpenClaw # 更新系统sudo apt update && sudo apt upgrade -y# 安装 Node.js 22curl -fsSL https://deb.nodesource.com/setup_22.x | sudo -E bash -sudo apt-get install -y nodejs# 安装 OpenClawcurl -fsSL https://openclaw.ai/install.sh | bash
运行新手引导
# 在 WSL2 终端中运行openclaw onboard --install-daemon新手引导会帮助你:
• 配置模型和认证(推荐使用 Anthropic API Key) • 设置 Gateway 运行模式 • 配置聊天渠道 • 安装后台服务(systemd)
启动 Gateway
# 查看服务状态openclaw gateway status# 手动启动openclaw gateway --port 18789# 重启服务openclaw gateway restart验证安装
openclaw statusopenclaw healthmacOS 安装流程
方法一:使用安装脚本(推荐)
# 在终端中运行curl -fsSL https://openclaw.ai/install.sh | bash方法二:使用 Homebrew 安装 Node.js 后用 npm
# 安装 Node.js 22brew install node@22# 安装 OpenClawnpm install -g openclaw@latest方法三:使用 pnpm
pnpm add -g openclaw@latest运行新手引导
# 安装并启动服务openclaw onboard --install-daemon新手引导步骤:
1. 选择 Gateway 运行模式(Local 或 Remote) 2. 配置 AI 模型提供商(Anthropic、OpenAI 等) 3. 设置认证方式(OAuth 或 API Key) 4. 配置聊天渠道(WhatsApp、Telegram、飞书等) 5. 安装后台服务(launchd)
启动 Gateway
# 查看服务状态openclaw gateway status# 手动启动openclaw gateway --port 18789# 重启服务openclaw gateway restart访问控制界面
在浏览器中打开:http://127.0.0.1:18789/
Telegram 集成使用
1. 创建 Telegram 机器人
1. 在 Telegram 中搜索并打开 @BotFather (⚠️注意是带蓝标认证的) 2. 发送 /newbot命令3. 按照提示设置机器人名称和用户名(用户名必须以 bot结尾)4. 复制返回的 Token(格式如 123456:ABC-DEF1234ghIkl-zyx57W2vxxu123ew11)
2. 配置 OpenClaw
方式一:通过向导配置
openclaw channels add选择 telegram 并粘贴 Bot Token。
方式二:通过环境变量
export TELEGRAM_BOT_TOKEN="你的机器人Token"方式三:通过配置文件
编辑配置文件:
• macOS/Linux: ~/.openclaw/openclaw.json• Windows: %USERPROFILE%\.openclaw\openclaw.json
{"channels":{"telegram":{"enabled":true,"botToken":"你的机器人Token","dmPolicy":"pairing","groups":{"*":{"requireMention":true}}}}}3. 重启 Gateway
openclaw gateway restart4. 测试使用
1. 在 Telegram 中搜索你的机器人 2. 发送第一条消息(会收到配对码) 3. 批准配对:
openclaw pairing list telegramopenclaw pairing approve telegram <配对码>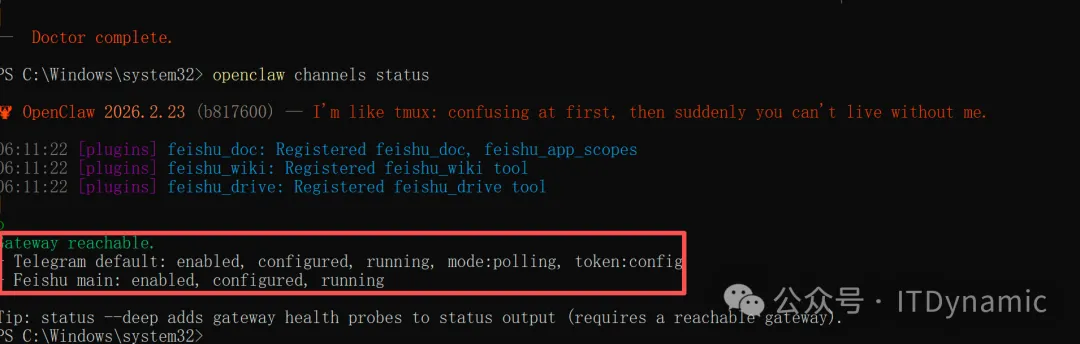
4. 批准后即可正常对话⚠️如果和它聊天没反应,则需要回到终端运行openclaw config set channels.telegram.proxy "http://127.0.0.1:代理端口" 来打破通信阻碍。
5. 在群组中使用
1. 将机器人添加到群组 2. 默认情况下需要 @机器人名提及才会响应3. 想要机器人自动响应所有消息,在配置中设置 requireMention: false
常用命令
/status | |
/reset | |
/model | |
/activation always | |
/activation mention |
