 夜雨聆风
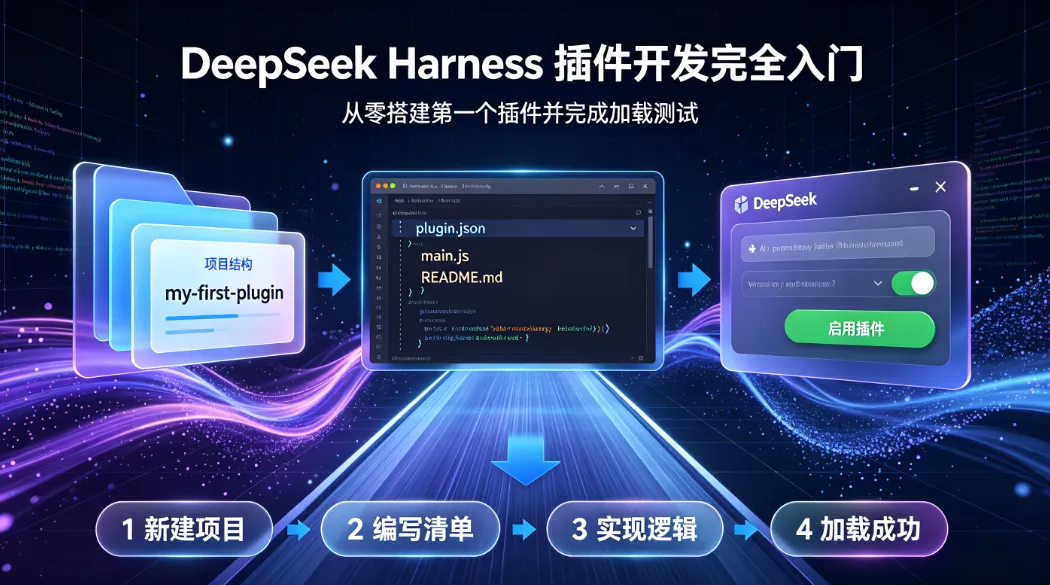
夜雨聆风理解Harness"一切皆插件"的第一步。读完这篇,你会知道怎么写插件、怎么加载、怎么声明依赖、怎么处理清理。全程实操,复制即用。
我先把测试报告里提到的插件开发流程,拆成一篇真正能跟着做出来的教程。
看官方的"第一个插件"文档,可能会遇到几个卡点:
mkdir -p scratch-plugin/src这步在Windows上怎么执行?/absolute/path/to/到底填什么?代码写完了,怎么确定插件真的加载成功了?
为什么文档说"插件路径必须是绝对路径"?
这篇把所有坑都踩了一遍,直接给你能跑通的版本。
一、前置条件
已经完成了DeepSeek Harness的源码安装。如果还没装,先把上篇测试报告里的"源码运行"部分走完。
快速确认:
cd deepseek-harnesspnpm --version # 应该显示版本号,不报错
二、第一步:创建插件项目(Windows/Mac/Linux通用)
在仓库根目录创建临时项目
cd deepseek-harnessmkdir -p scratch-plugin/src
Windows用户注意:mkdir -p 在PowerShell中可能不识别。用这个:
mkdir scratch-plugin\src
创建完成后,目录结构应该是:
deepseek-harness/├── scratch-plugin/│ └── src/
三、第二步:写插件代码
创建文件 scratch-plugin/src/my-plugin.ts:
importtype { Context } from'@deepseek-ai/cordis'exportconst name = 'hello-plugin'exportfunctionapply(ctx: Context) {// 插件加载时打印这条日志console.log('[hello-plugin] 插件加载成功!')}
这段代码在做什么:
import type { Context } | |
export const name = 'hello-plugin' | |
export function apply(ctx: Context) | |
console.log(...) |
这就是一个完整的Harness插件。 它什么都没做,只证明"我能被加载"。后面再逐步加功能。
四、第三步:创建配置文件(关键一步)
在 scratch-plugin/ 目录下创建 cordis.yml:
-insert:- id: helloname: '/absolute/path/to/deepseek-harness/scratch-plugin/src/my-plugin.ts'
⚠️ 这里最容易出错
/absolute/path/to/deepseek-harness 要换成你电脑上的真实路径。
Mac/Linux查看路径:
pwd
输出类似:/Users/你的用户名/projects/deepseek-harness
Windows查看路径:
cd deepseek-harnesspwd
输出类似:C:\Users\你的用户名\projects\deepseek-harness
替换示例
Mac:
-insert:- id: helloname: '/Users/zhangsan/projects/deepseek-harness/scratch-plugin/src/my-plugin.ts'
Windows(注意反斜杠要改成正斜杠或双反斜杠):
-insert:- id: helloname: 'C:/Users/zhangsan/projects/deepseek-harness/scratch-plugin/src/my-plugin.ts'
为什么必须是绝对路径?
官方文档说:patch文件只贡献配置,不会改变loader解析模块路径时使用的profile目录。简单说就是——相对路径找不到,必须写死完整路径。
五、第四步:加载插件
在仓库根目录执行:
pnpm dsh web --patch ./scratch-plugin/cordis.yml
看到什么才算成功?
启动过程中,终端应该打印:
[hello-plugin] 插件加载成功!
然后浏览器自动打开 http://127.0.0.1:3080,看到Web UI界面。
如果没看到这条日志
排查1:路径写对了没有?检查 cordis.yml 里的路径是不是绝对路径,文件确实存在。
排查2:终端当前目录对不对?确保在 deepseek-harness 根目录执行命令。
排查3:文件格式对不对?YAML对缩进敏感,- insert: 前面不要有多余空格。
六、进阶:清理资源(用ctx.effect)
如果你的插件创建了定时器、网络连接、文件监听等资源,插件卸载时需要清理。
importtype { Context } from'@deepseek-ai/cordis'exportconst name = 'hello-plugin'exportfunctionapply(ctx: Context) {console.log('[hello-plugin] 插件加载成功!')// ctx.effect 告诉框架:这段代码需要清理ctx.effect(() => {const timer = setInterval(() => {console.log('[hello-plugin] 心跳检测...')},5000)// 返回清理函数,插件卸载时执行return() => {clearInterval(timer)console.log('[hello-plugin] 定时器已清理')}})}
规则: 任何通过 ctx 注册的东西(事件监听、工具、定时器),框架在插件卸载时会自动清理。但如果你直接用了Node.js原生的API(如setInterval),需要用ctx.effect()告诉框架怎么清理。
七、进阶:声明依赖
如果插件需要使用其他服务(如工具系统、大模型),声明inject:
importtype { Context } from'@deepseek-ai/cordis'exportconst name = 'my-tool-plugin'exportconst inject = ['tools'] // 声明依赖exportfunctionapply(ctx: Context) {// 此时 ctx.tools 已经准备好console.log('[my-tool-plugin] tools 服务可用')// 注册一个工具ctx.tools.register({name: 'hello_tool',description: '一个简单的问候工具',execute: (params: any) => {return`你好,${params.name || '世界'}!`}})}
常见的可注入服务:
tools | |
llm | |
logger | |
config |
框架会确保依赖的服务就绪后才加载你的插件。
八、三种插件写法
函数形式(最常用,上面一直在用)
exportconst name = 'my-plugin'exportfunctionapply(ctx: Context) { /* ... */ }
对象形式
importtype { Context } from'@deepseek-ai/cordis'exportdefault {name: 'my-plugin',inject: ['tools'],apply(ctx: Context) {// ...},}
类形式(适合向外提供服务)
import { Service, type Context } from'@deepseek-ai/cordis'exportdefaultclassMyServiceextendsService {static inject = ['tools']constructor(ctx: Context) {super(ctx, 'myService')}}
选哪个?
大多数情况:函数形式
需要注入依赖:对象形式
需要被其他插件使用:类形式
九、本文涉及的路径/文件汇总
deepseek-harness/ # 仓库根目录├── scratch-plugin/ # 临时插件目录│ ├── src/│ │ └── my-plugin.ts # 插件代码│ └── cordis.yml # 插件配置(绝对路径)└── (其他Harness文件)
十、总结
mkdir -p scratch-plugin/src | ||
my-plugin.ts | export const nameapply 都存在 | |
cordis.yml | ||
pnpm dsh web --patch ./scratch-plugin/cordis.yml | [hello-plugin] 插件加载成功! |
下一步做什么?
既然插件能加载了,你可以:
注册一个工具让Agent能调用
监听Agent的生命周期事件
给Agent加一个自定义提示词模板
集成一个外部API
先把这个跑通,后面的都好说。Harness的"一切皆插件"不是口号,你写的每个功能都可以是一个独立插件,随时插拔。
把插件跑通了的,评论区扣个1。卡在哪一步的,把错误信息贴出来,我帮你看。

