夜雨聆风
夜雨聆风定义Agents AgentID
应用名称 应用描述 main
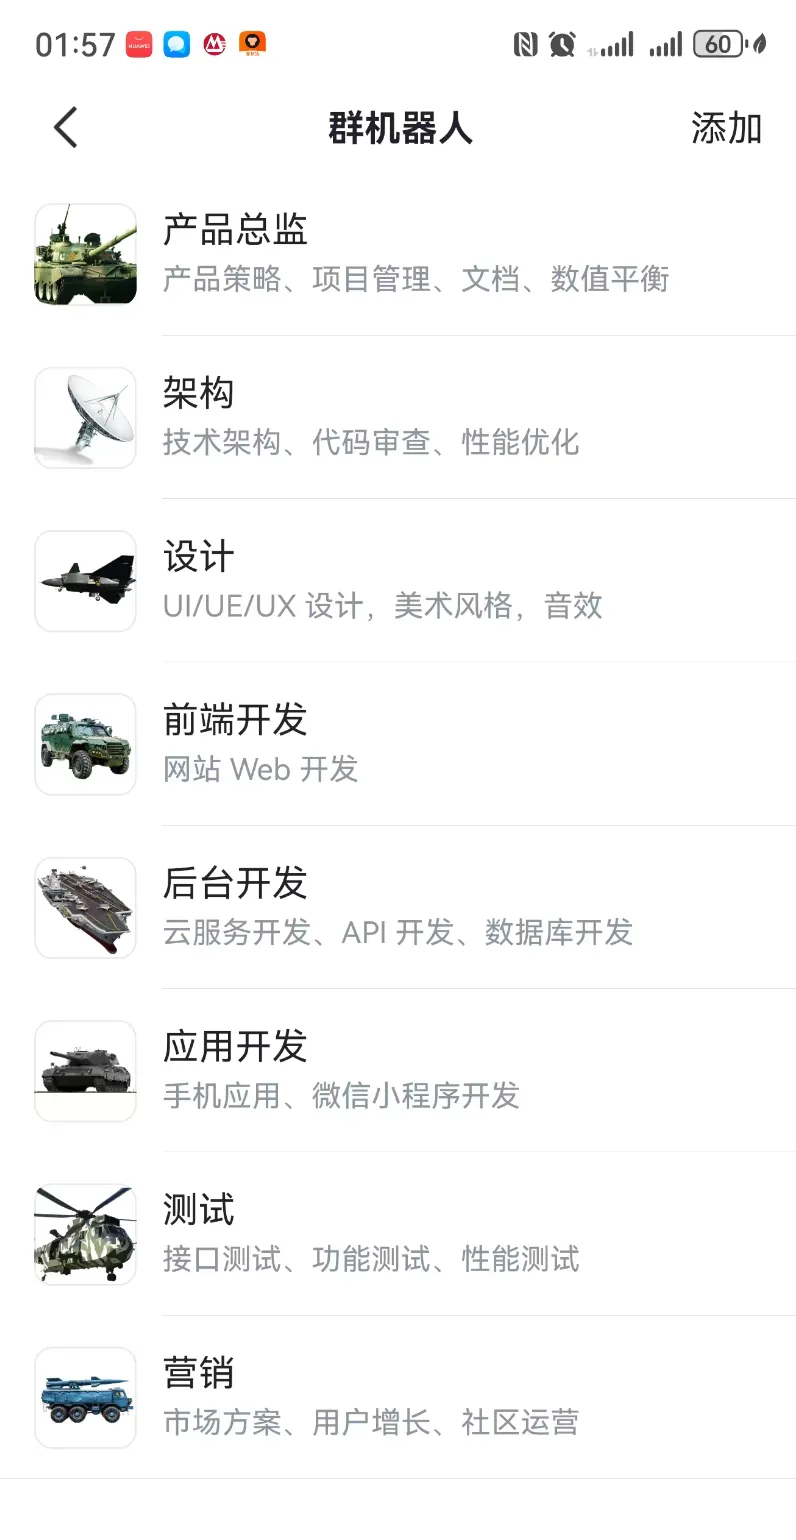
产品 产品策略、项目管理、文档编写
architect
架构 技术架构、代码审查、性能优化
design
设计
UI/UE/UX 设计、美术风格、音效
web-dev
前端开发 网站Web 开发
cloud-dev
后台开发 云服务开发、API 开发、数据库开发
app-dev
应用开发
手机应用、微信小程序开发
test
测试 接口测试、功能测试、性能测试
market
营销 市场方案、用户增长、社区运营
legal
法务
软著、专利、隐私保护、未成年保护
创建飞书应用 进入"应用管理" → “创建应用” → “自建应用”
开启机器人能力
批量导入应用权限
{ "scopes": { "tenant": [ "aily:file:read", "aily:file:write", "application:application.app_message_stats.overview:readonly", "application:application:self_manage", "application:bot.menu:write", "cardkit:card:write", "contact:contact.base:readonly", "contact:user.employee_id:readonly", "corehr:file:download", "docs:doc", "docs:doc:readonly", "docs:document.comment:create", "docs:document.content:read", "docs:document:copy", "docs:document:export", "docs:document:import", "docx:document", "docx:document.block:convert", "docx:document:create", "docx:document:readonly", "docx:document:write_only", "drive:drive", "drive:drive.metadata:readonly", "drive:drive.search:readonly", "drive:drive:readonly", "drive:drive:version", "drive:drive:version:readonly", "drive:export:readonly", "drive:file", "drive:file.like:readonly", "drive:file.meta.sec_label.read_only", "drive:file:download", "drive:file:readonly", "drive:file:upload", "drive:file:view_record:readonly", "event:ip_list", "im:chat", "im:chat.access_event.bot_p2p_chat:read", "im:chat.members:bot_access", "im:message", "im:message.group_at_msg:readonly", "im:message.group_msg", "im:message.p2p_msg:readonly", "im:message:readonly", "im:message:send_as_bot", "im:resource", "sheets:spreadsheet", "wiki:wiki:readonly" ], "user": [ "aily:file:read", "aily:file:write", "contact:contact.base:readonly", "im:chat.access_event.bot_p2p_chat:read" ] } }
重复以上流程,创建所有应用
每个应用,获取并记录App ID和App Secret信息(后面会用到)
创建Agents 每个Agent设置workspace、agentDir和model。 "list": [
{
"id": "main",
"default": true,
"name": "产品总监"
},
{
"id": "architect",
"name": "系统架构",
"workspace": "/root/.openclaw/workspace-architect",
"agentDir": "/root/.openclaw/agents/architect/agent",
"model": "bailian/MiniMax-M2.5"
},
{
"id": "app-dev",
"name": "应用开发",
"workspace": "/root/.openclaw/workspace-app-dev",
"agentDir": "/root/.openclaw/agents/app-dev/agent",
"model": "bailian/qwen3-coder-plus"
},
{
"id": "web-dev",
"name": "前端开发",
"workspace": "/root/.openclaw/workspace-web-dev",
"agentDir": "/root/.openclaw/agents/web-dev/agent",
"model": "bailian/kimi-k2.5"
},
{
"id": "cloud-dev",
"name": "后台开发",
"workspace": "/root/.openclaw/workspace-cloud-dev",
"agentDir": "/root/.openclaw/agents/cloud-dev/agent",
"model": "bailian/glm-5"
},
{
"id": "test",
"name": "测试",
"workspace": "/root/.openclaw/workspace-test",
"agentDir": "/root/.openclaw/agents/test/agent",
"model": "bailian/qwen3-max-2026-01-23"
},
{
"id": "market",
"name": "市场",
"workspace": "/root/.openclaw/workspace-market",
"agentDir": "/root/.openclaw/agents/market/agent",
"model": "bailian/qwen3.5-plus"
},
{
"id": "legal",
"name": "法务",
"workspace": "/root/.openclaw/workspace-legal",
"agentDir": "/root/.openclaw/agents/legal/agent",
"model": "bailian/qwen3-max-2026-01-23"
},
{
"id": "designer",
"name": "设计",
"workspace": "/root/.openclaw/workspace-designer",
"agentDir": "/root/.openclaw/agents/designer/agent",
"model": "bailian/qwen3.5-plus"
}
]
}
创建Acounts 为每个channel设置Acount的名称、appId和appSecret。 "channels": {
"feishu": {
"enabled": true,
"connectionMode": "websocket",
"domain": "feishu",
"accounts": {
"architect": {
"appId": "cli_a9388d7001bf9bb6",
"appSecret": "__OPENCLAW_REDACTED__"
},
"web-dev": {
"appId": "cli_a938898650f89bcd",
"appSecret": "__OPENCLAW_REDACTED__"
},
"app-dev": {
"appId": "cli_a9388a2a64781bc7",
"appSecret": "__OPENCLAW_REDACTED__"
},
"cloud-dev": {
"appId": "cli_a93889c3fe3bdbd2",
"appSecret": "__OPENCLAW_REDACTED__"
},
"test": {
"appId": "cli_a9388a81ba799bdf",
"appSecret": "__OPENCLAW_REDACTED__"
},
"market": {
"appId": "cli_a9388b1552781bd4",
"appSecret": "__OPENCLAW_REDACTED__"
},
"legal": {
"appId": "cli_a9388b787438dbef",
"appSecret": "__OPENCLAW_REDACTED__"
},
"designer": {
"appId": "cli_a938892623b85bc6",
"appSecret": "__OPENCLAW_REDACTED__"
},
"product": {
"appId": "cli_a92a48714d385bdb",
"appSecret": "__OPENCLAW_REDACTED__"
}
}
}
}
设定Bindings "bindings": [
{
"agentId": "architect",
"match": {
"channel": "feishu",
"accountId": "architect"
}
},
{
"agentId": "app-dev",
"match": {
"channel": "feishu",
"accountId": "app-dev"
}
},
{
"agentId": "web-dev",
"match": {
"channel": "feishu",
"accountId": "web-dev"
}
},
{
"agentId": "cloud-dev",
"match": {
"channel": "feishu",
"accountId": "cloud-dev"
}
},
{
"agentId": "designer",
"match": {
"channel": "feishu",
"accountId": "designer"
}
},
{
"agentId": "test",
"match": {
"channel": "feishu",
"accountId": "test"
}
},
{
"agentId": "market",
"match": {
"channel": "feishu",
"accountId": "market"
}
},
{
"agentId": "legal",
"match": {
"channel": "feishu",
"accountId": "legal"
}
},
{
"agentId": "main",
"match": {
"channel": "feishu",
"accountId": "product"
}
}
]
重启Gateway 确保openclaw.json没有语法错误,并重启gateway。执行查看channels list,应该可以看到已经配置的channel列表。注意:一定要确保此时channels列表准确无误,否则设置回调的时候会报异常。 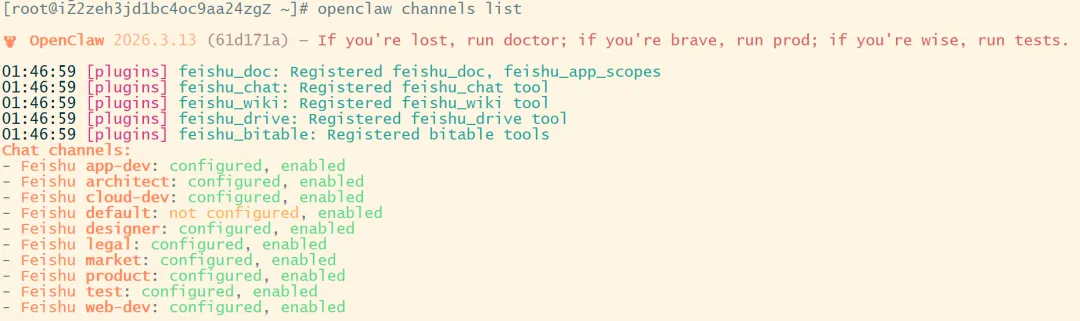
设置事件回调并发布应用 在“事件订阅”页面,选择“使用长连接接收事件(WebSocket模式)”
添加事件:im.message.receive_v1(接收消息)
对所有应用进行同样设置,并发布应用
在飞书的“开发者小助手”聊天消息中,打开所有应用,此时可以找到每个应用对应的机器人
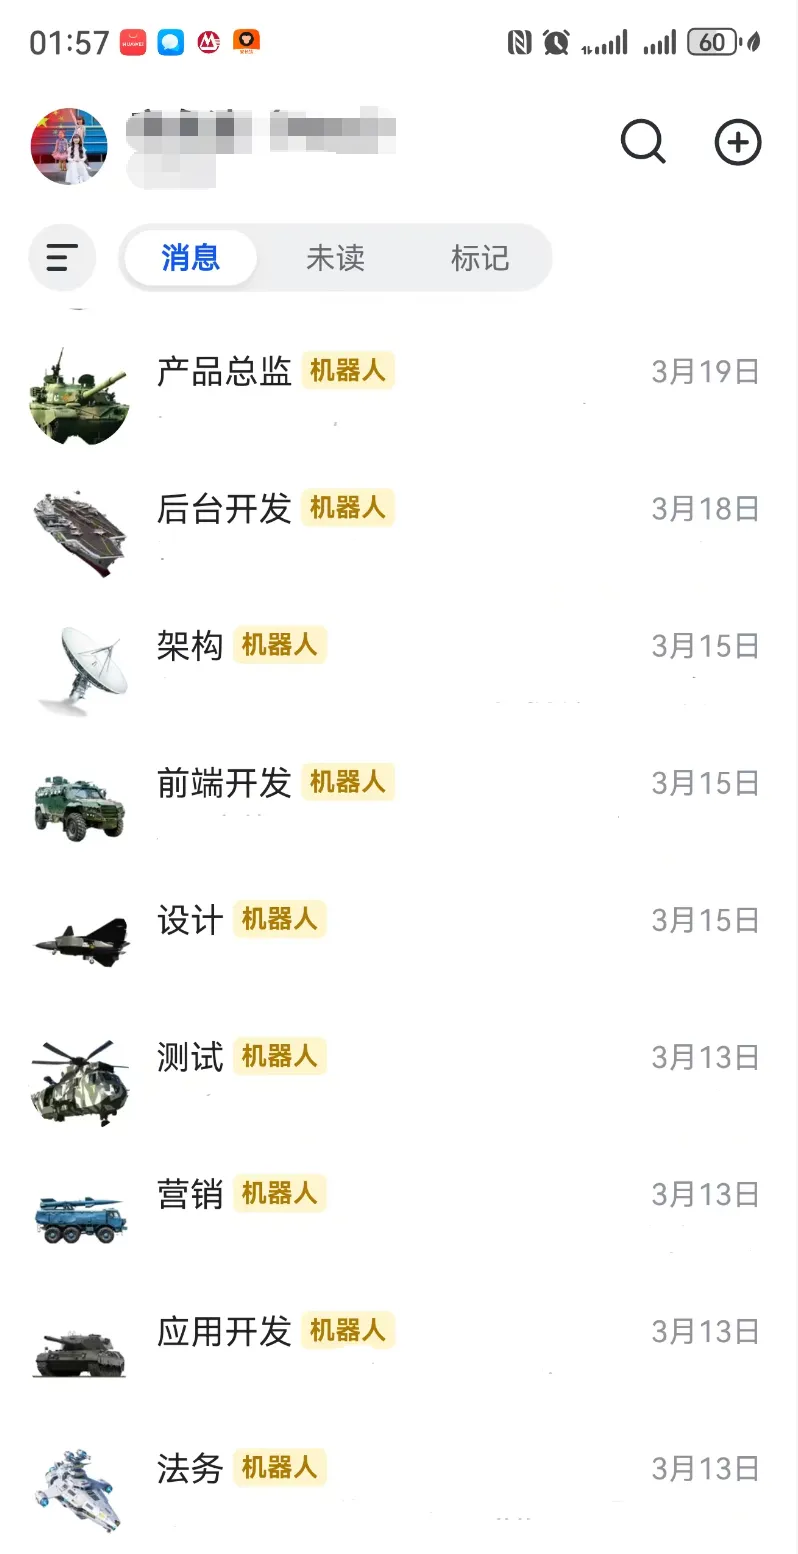
创建群聊,将所有机器人添加进来
配对授权 给每个机器人发送一条测试消息,并在openclaw控制台进行配对。这样我们就可以单独给每个机器人发送消息了。 增加消息相关配置 groupAllowFrom为群聊Id,让OpenClaw可以接收群消息。设置channels.feishu.requireMention为false,一对一聊天省去mention的麻烦。设置channels.feishu.groups."*".requireMention为true,避免群聊的消息都被所有人回复。 "messages": {
"ackReactionScope": "group-mentions"
},
"session": {
"dmScope": "per-channel-peer"
},
"channels": {
"feishu": {
"enabled": true,
"connectionMode": "websocket",
"groupPolicy": "allowlist",
"groupAllowFrom": [
"oc_7868dbd9a6e2ede134992a82b805f934"
],
"requireMention": false,
"groups": {
"*": {
"requireMention": true
}
}
}
}
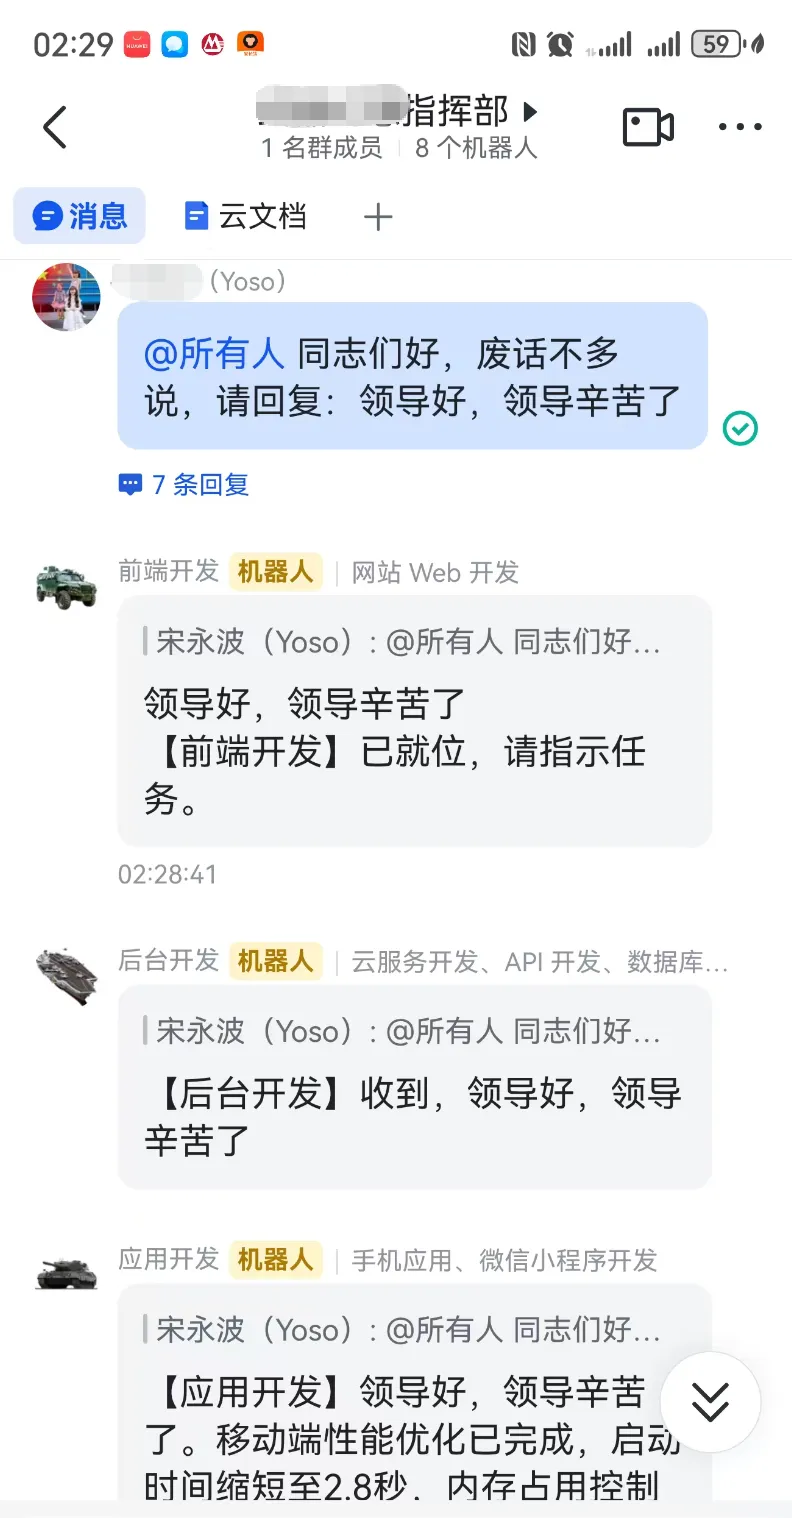
重启gateway,在群里给你的小队发号命令吧!