夜雨聆风
夜雨聆风适用环境:Ubuntu 20.04 64G/ RTX A4000 16GB / CUDA 12.9 / Python 3.11.15 / PyTorch 2.5.1+cu124
一、系统环境准备
1. 安装 Conda(使用清华源)
# 下载 Miniconda(清华镜像)wget https://mirrors.tuna.tsinghua.edu.cn/anaconda/miniconda/Miniconda3-latest-Linux-x86_64.sh# 安装bash Miniconda3-latest-Linux-x86_64.sh# 重新加载配置source ~/.bashrc
2. 配置 Conda 清华源
conda config --add channels https://mirrors.tuna.tsinghua.edu.cn/anaconda/pkgs/main/conda config --add channels https://mirrors.tuna.tsinghua.edu.cn/anaconda/pkgs/free/conda config --set show_channel_urls yes
3. 配置 Pip 清华源(永久生效)
pip config set global.index-url https://pypi.tuna.tsinghua.edu.cn/simple4. 配置 HuggingFace 国内镜像(永久生效)
echo 'export HF_ENDPOINT=https://hf-mirror.com' >> ~/.bashrcsource ~/.bashrc
5. 配置 Git 国内镜像(加速 GitHub 克隆)
git config --global url."https://ghproxy.com/".insteadOf "https://github.com/"二、创建环境并安装 PyTorch 2.5.1+cu124
1. 创建 Python 3.11.15 虚拟环境
conda create -n comfyui python=3.11.15 -yconda activate comfyui# 确认 Python 版本python --version# 期望输出:Python 3.11.15
2. 安装 PyTorch 2.5.1+cu124(使用清华源)
# 方案一:使用 pip 安装(推荐)pip install torch==2.5.1 torchvision==0.20.1 torchaudio==2.5.1 --index-url https://download.pytorch.org/whl/cu124# 方案二:如果上面太慢,使用清华源加速下载pip install torch==2.5.1 torchvision==0.20.1 torchaudio==2.5.1 --index-url https://download.pytorch.org/whl/cu124 -i https://pypi.tuna.tsinghua.edu.cn/simple
3. 验证安装
python -c "import torch; print(f'PyTorch版本: {torch.__version__}'); print(f'CUDA版本: {torch.version.cuda}'); print(f'CUDA可用: {torch.cuda.is_available()}'); print(f'GPU设备: {torch.cuda.get_device_name(0) if torch.cuda.is_available() else \"None\"}')"期望输出:
PyTorch版本: 2.5.1+cu124
CUDA版本: 12.4
CUDA可用: True
GPU设备: NVIDIA RTX A4000
三、下载安装 ComfyUI
# 克隆 ComfyUI(使用 ghproxy 加速)cd ~git clone https://ghproxy.com/https://github.com/comfyanonymous/ComfyUI.gitcd ComfyUI# 安装依赖(使用清华源)pip install -r requirements.txt
四、创建模型目录结构
cd ~/ComfyUI/models/mkdir -p checkpoints diffusion_models text_encoders loras vae latent_upscale_models clip
checkpoints/ | |
diffusion_models/ | |
text_encoders/ | |
loras/ | |
vae/ | |
latent_upscale_models/ |
五、下载模型文件(全部国内源)
1. Z-Image-Turbo(文生图模型)
z_image_turbo_bf16.safetensors | diffusion_models/ | |
qwen_3_4b.safetensors | text_encoders/ | |
ae.safetensors | vae/ |
cd ~/ComfyUI/models/# 下载主模型wget -c https://hf-mirror.com/Comfy-Org/z_image_turbo/resolve/main/split_files/diffusion_models/z_image_turbo_bf16.safetensors -P diffusion_models/# 下载文本编码器wget -c https://hf-mirror.com/Comfy-Org/z_image_turbo/resolve/main/split_files/text_encoders/qwen_3_4b.safetensors -P text_encoders/# 下载 VAEwget -c https://hf-mirror.com/Comfy-Org/z_image_turbo/resolve/main/split_files/vae/ae.safetensors -P vae/
2. LTX-2.3(视频生成模型)
ltx-2.3-22b-distilled-fp8.safetensors | checkpoints/ | |
gemma_3_12B_it_fp4_mixed.safetensors | text_encoders/ | |
ltx-2.3-22b-distilled-lora-384.safetensors | loras/ | |
ltx-2.3-spatial-upscaler-x2-1.1.safetensors | latent_upscale_models/ |
cd ~/ComfyUI/models/# 下载主模型wget -c https://hf-mirror.com/Lightricks/LTX-2.3-fp8/resolve/main/ltx-2.3-22b-distilled-fp8.safetensors -P checkpoints/# 下载文本编码器wget -c https://hf-mirror.com/Comfy-Org/ltx-2/resolve/main/split_files/text_encoders/gemma_3_12B_it_fp4_mixed.safetensors -P text_encoders/# 下载 LoRAwget -c https://hf-mirror.com/Comfy-Org/ltx-2/resolve/main/split_files/loras/ltx-2.3-22b-distilled-lora-384.safetensors -P loras/# 下载放大模型wget -c https://hf-mirror.com/Comfy-Org/ltx-2/resolve/main/split_files/latent_upscale_models/ltx-2.3-spatial-upscaler-x2-1.1.safetensors -P latent_upscale_models/
3. 多线程下载加速(可选,推荐 aria2)
# 安装 aria2sudo apt update && sudo apt install aria2 -y# 示例:16线程下载主模型aria2c -x 16 -s 16 -k 1M -c "https://hf-mirror.com/Lightricks/LTX-2.3-fp8/resolve/main/ltx-2.3-22b-distilled-fp8.safetensors" -d ~/ComfyUI/models/checkpoints/
六、安装自定义节点
启动 ComfyUI 后,在界面中操作:
访问
http://你的IP:8188点击右侧 Manager 按钮
选择 Install Custom Nodes
搜索并安装以下节点:
ComfyUI-LTXVideo | |
ComfyUI-VideoHelperSuite | |
ComfyUI-KJNodes | |
ComfyUI-GGUF |
注意:安装后需要重启 ComfyUI 才能生效。
七、启动 ComfyUI
基础启动
cd ~/ComfyUIconda activate comfyuipython main.py --listen 0.0.0.0 --port 8188
优化启动(16GB 显存推荐)
PYTORCH_CUDA_ALLOC_CONF=expandable_segments:True python main.py --listen 0.0.0.0 --port 8188 --lowvram访问地址:http://你的服务器IP:8188
八、工作流关键参数
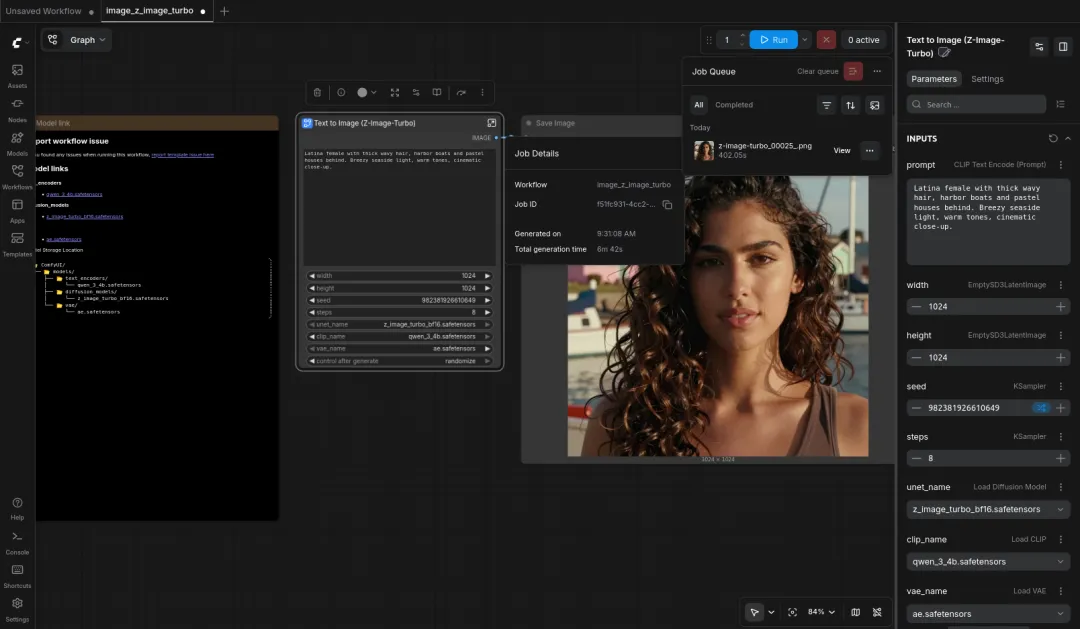
Z-Image-Turbo
ZImageTurboLumina 2 | |
euler |
LTX-2.3 视频生成
| 必须设为 1.0 | |
九、完整环境信息确认
安装完成后,运行以下命令确认环境:
conda activate comfyuipython --version# Python 3.11.15pip show torch | grep Version# Version: 2.5.1python -c "import torch; print(torch.version.cuda)"# 12.4nvidia-smi | grep "CUDA Version"# CUDA Version: 12.9
十、常见问题
CUDA out of memory | --lowvram 启动,降低分辨率/帧数 |
Network is unreachable | hf-mirror.com 是否可访问 |
pip config list | |
wget -c 或 aria2c -c 断点续传 | |
invalid tokenizer | huggingface-cli 下载 |
undefined symbol: iJIT_NotifyEvent |
十一、国内源汇总
https://mirrors.tuna.tsinghua.edu.cn/anaconda/ | |
https://pypi.tuna.tsinghua.edu.cn/simple | |
https://hf-mirror.com | |
https://ghproxy.com/ | |
https://download.pytorch.org/whl/cu124 |