ARTICLE · 1147574
AI开发之基础快速入门主流深度学习框架介绍Keras
AI开发之基础快速入门主流深度学习框架介绍Keras
1)keras介绍
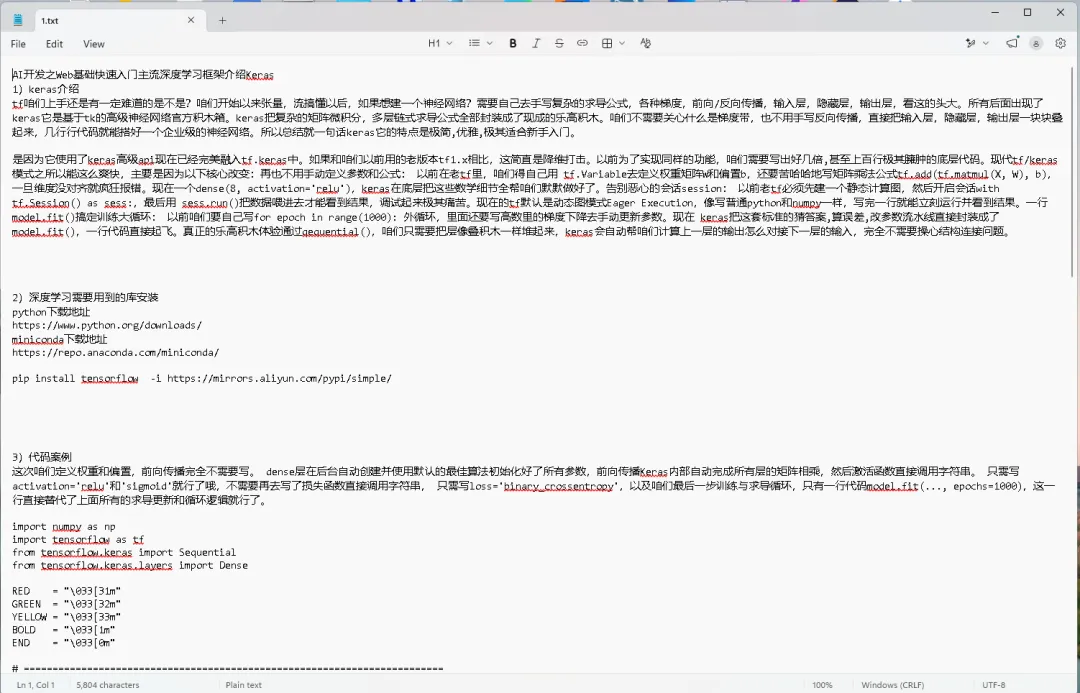
tf咱们上手还是有一定难道的是不是?咱们开始以来张量,流搞懂以后,如果想建一个神经网络?需要自己去手写复杂的求导公式,各种梯度,前向/反向传播,输入层,隐藏层,输出层,看这的头大。所有后面出现了keras它是基于tk的高级神经网络官方积木箱。keras把复杂的矩阵微积分,多层链式求导公式全部封装成了现成的乐高积木。咱们不需要关心什么是梯度带,也不用手写反向传播,直接把输入层,隐藏层,输出层一块块叠起来,几行行代码就能搭好一个企业级的神经网络。所以总结就一句话keras它的特点是极简,优雅,极其适合新手入门。
是因为它使用了keras高级api现在已经完美融入tf.keras中。如果和咱们以前用的老版本tf1.x相比,这简直是降维打击。以前为了实现同样的功能,咱们需要写出好几倍,甚至上百行极其臃肿的底层代码。现代tf/keras模式之所以能这么爽快,主要是因为以下核心改变:再也不用手动定义参数和公式: 以前在老tf里,咱们得自己用 tf.Variable去定义权重矩阵W和偏置b,还要苦哈哈地写矩阵乘法公式tf.add(tf.matmul(X, W), b),一旦维度没对齐就疯狂报错。现在一个dense(8, activation='relu'),keras在底层把这些数学细节全帮咱们默默做好了。告别恶心的会话session: 以前老tf必须先建一个静态计算图,然后开启会话with tf.Session() as sess:,最后用 sess.run()把数据喂进去才能看到结果,调试起来极其痛苦。现在的tf默认是动态图模式Eager Execution,像写普通python和numpy一样,写完一行就能立刻运行并看到结果。一行model.fit()搞定训练大循环: 以前咱们要自己写for epoch in range(1000): 外循环,里面还要写高数里的梯度下降去手动更新参数。现在 keras把这套标准的猜答案,算误差,改参数流水线直接封装成了model.fit(),一行代码直接起飞。真正的乐高积木体验通过qequential(),咱们只需要把层像叠积木一样堆起来,keras会自动帮咱们计算上一层的输出怎么对接下一层的输入,完全不需要操心结构连接问题。
2)深度学习需要用到的库安装
python下载地址
https://www.python.org/downloads/
miniconda下载地址
https://repo.anaconda.com/miniconda/
pip install tensorflow -i https://mirrors.aliyun.com/pypi/simple/
3)代码案例
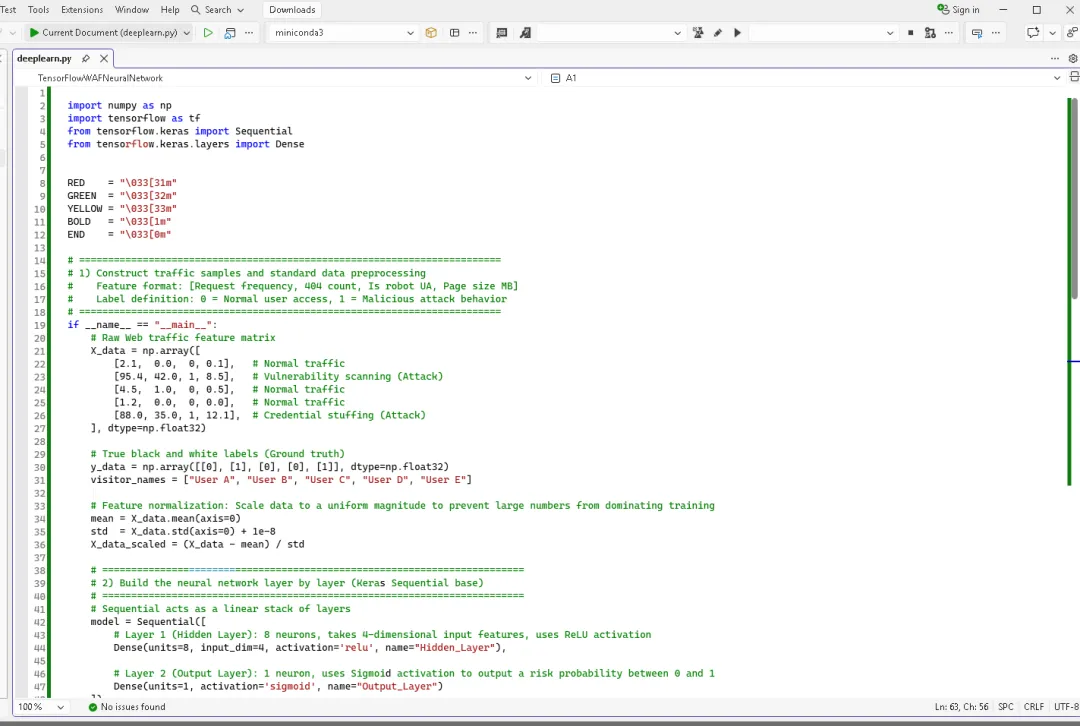
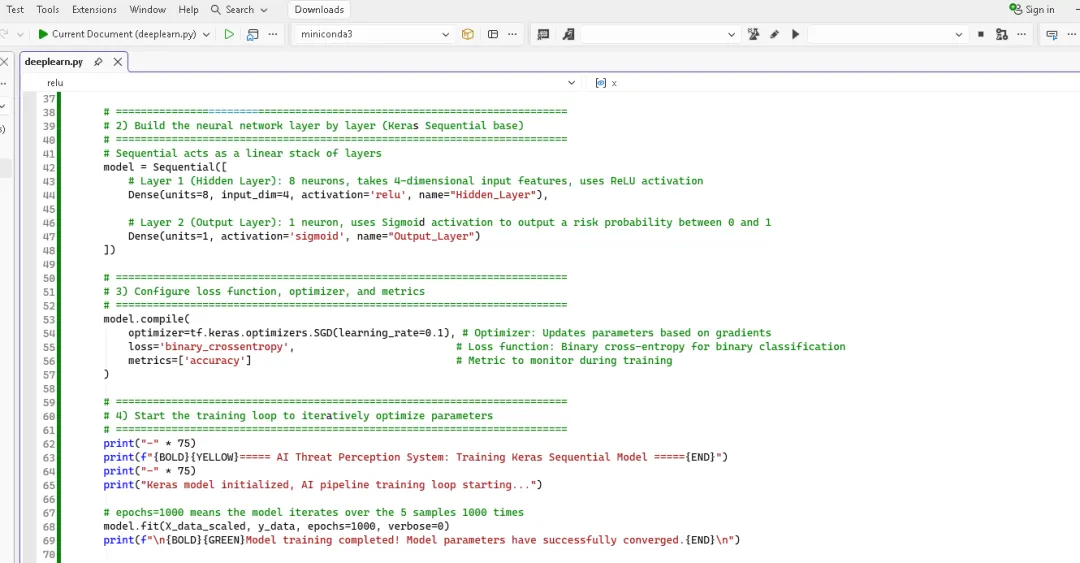
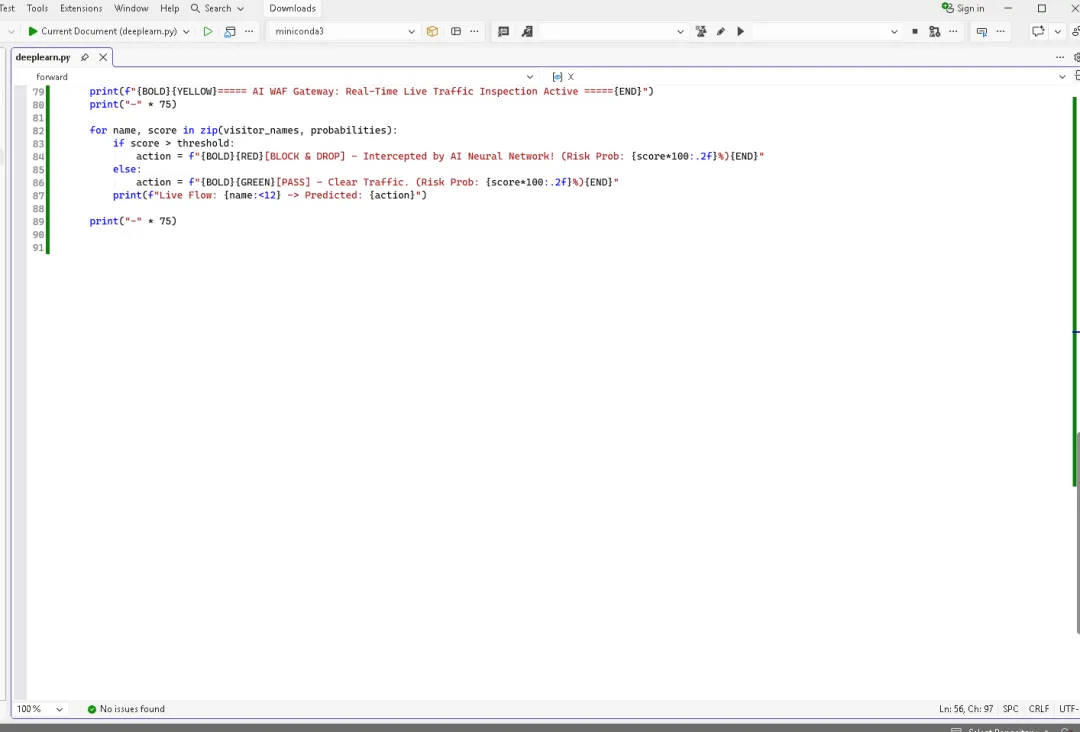
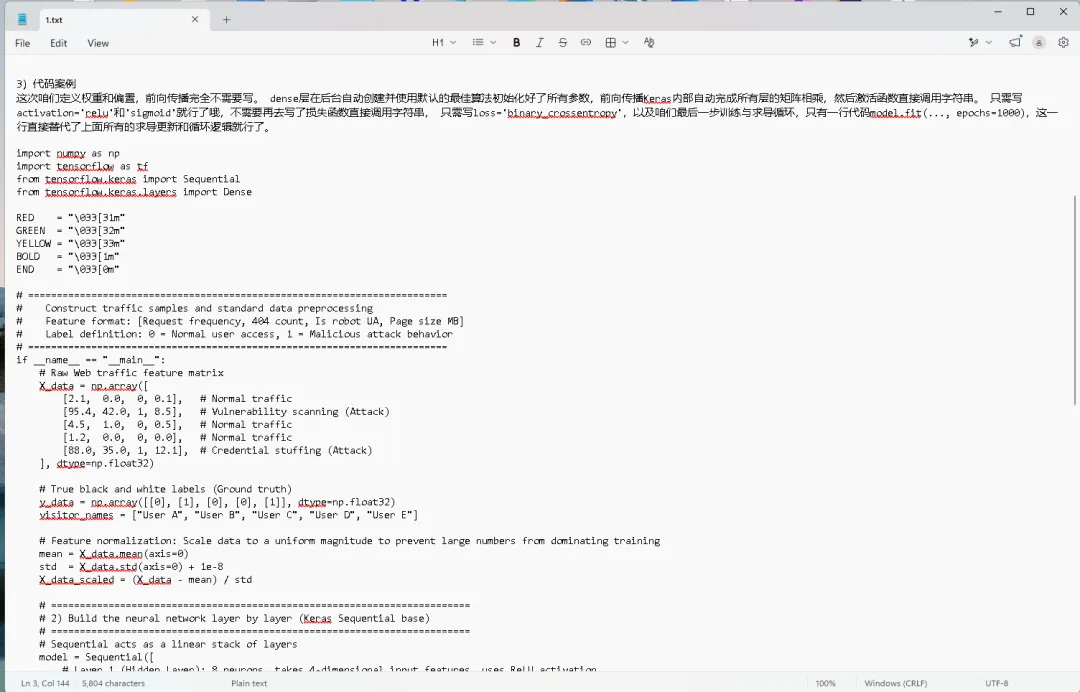
这次咱们定义权重和偏置,前向传播完全不需要写。 dense层在后台自动创建并使用默认的最佳算法初始化好了所有参数,前向传播Keras内部自动完成所有层的矩阵相乘,然后激活函数直接调用字符串。 只需写activation='relu'和'sigmoid'就行了哦,不需要再去写了损失函数直接调用字符串, 只需写loss='binary_crossentropy',以及咱们最后一步训练与求导循环,只有一行代码model.fit(..., epochs=1000),这一行直接替代了上面所有的求导更新和循环逻辑就行了。
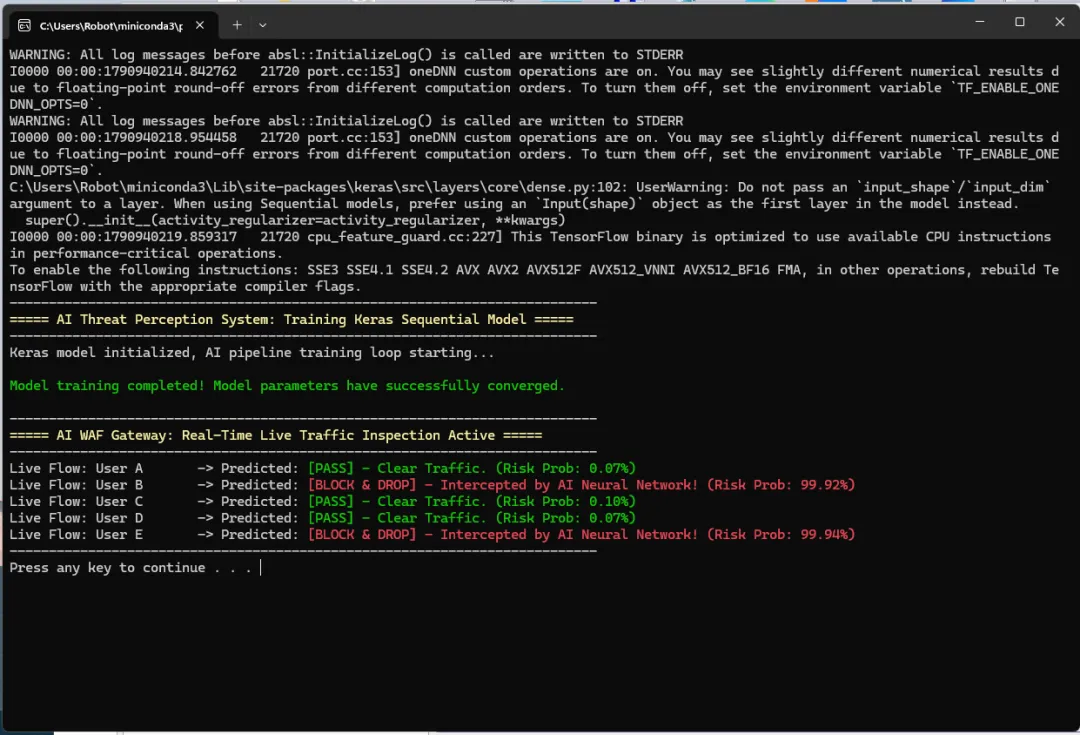
import numpy as npimport tensorflow as tffrom tensorflow.keras import Sequentialfrom tensorflow.keras.layers import DenseRED = "\033[31m"GREEN = "\033[32m"YELLOW = "\033[33m"BOLD = "\033[1m"END = "\033[0m"# =========================================================================# Construct traffic samples and standard data preprocessing# Feature format: [Request frequency, 404 count, Is robot UA, Page size MB]# Label definition: 0 = Normal user access, 1 = Malicious attack behavior# =========================================================================if __name__ == "__main__":# Raw Web traffic feature matrixX_data = np.array([[2.1, 0.0, 0, 0.1], # Normal traffic[95.4, 42.0, 1, 8.5], # Vulnerability scanning (Attack)[4.5, 1.0, 0, 0.5], # Normal traffic[1.2, 0.0, 0, 0.0], # Normal traffic[88.0, 35.0, 1, 12.1], # Credential stuffing (Attack)], dtype=np.float32)# True black and white labels (Ground truth)y_data = np.array([[0], [1], [0], [0], [1]], dtype=np.float32)visitor_names = ["User A", "User B", "User C", "User D", "User E"]# Feature normalization: Scale data to a uniform magnitude to prevent large numbers from dominating trainingmean = X_data.mean(axis=0)std = X_data.std(axis=0) + 1e-8X_data_scaled = (X_data - mean) / std# =========================================================================# 2) Build the neural network layer by layer (Keras Sequential base)# =========================================================================# Sequential acts as a linear stack of layersmodel = Sequential([# Layer 1 (Hidden Layer): 8 neurons, takes 4-dimensional input features, uses ReLU activationDense(units=8, input_dim=4, activation='relu', name="Hidden_Layer"),# Layer 2 (Output Layer): 1 neuron, uses Sigmoid activation to output a risk probability between 0 and 1Dense(units=1, activation='sigmoid', name="Output_Layer")])# =========================================================================# 3) Configure loss function, optimizer, and metrics# =========================================================================model.compile(optimizer=tf.keras.optimizers.SGD(learning_rate=0.1), # Optimizer: Updates parameters based on gradientsloss='binary_crossentropy', # Loss function: Binary cross-entropy for binary classificationmetrics=['accuracy'] # Metric to monitor during training)# =========================================================================# 4) Start the training loop to iteratively optimize parameters# =========================================================================print("-" * 75)print(f"{BOLD}{YELLOW}===== AI Threat Perception System: Training Keras Sequential Model ====={END}")print("-" * 75)print("Keras model initialized, AI pipeline training loop starting...")# epochs=1000 means the model iterates over the 5 samples 1000 timesmodel.fit(X_data_scaled, y_data, epochs=1000, verbose=0)print(f"\n{BOLD}{GREEN}Model training completed! Model parameters have successfully converged.{END}\n")# =========================================================================# 5) Online inference and real-time Web gateway interception# =========================================================================# Call the predict method to execute the forward pass through the networkprobabilities = model.predict(X_data_scaled, verbose=0).flatten()threshold = 0.5 # Risk control interception thresholdprint("-" * 75)print(f"{BOLD}{YELLOW}===== AI WAF Gateway: Real-Time Live Traffic Inspection Active ====={END}")print("-" * 75)for name, score in zip(visitor_names, probabilities):if score > threshold:action = f"{BOLD}{RED}[BLOCK & DROP] - Intercepted by AI Neural Network! (Risk Prob: {score*100:.2f}%){END}"else:action = f"{BOLD}{GREEN}[PASS] - Clear Traffic. (Risk Prob: {score*100:.2f}%){END}"print(f"Live Flow: {name:<12} -> Predicted: {action}")print("-" * 75)
过去帮客户写的AI案例请看这里:
https://space.bilibili.com/1456034618/lists/3151496?type=season