 夜雨聆风
夜雨聆风IOPaint AI 图像修复工具
官网: https://www.iopaint.com
一、项目简介
IOPaint 是一款完全免费、开源、本地运行的 AI 图像修复(Inpainting)和扩展(Outpainting)工具,基于 SOTA 模型开发,完全自托管,不依赖任何在线 API 服务。
核心功能一览
二、pip 安装
环境准备
安装 Python3.10.2 、最低3.8+
关注公众号回复「Python安装包」获得
N卡驱动 最低 522.25
安装命令# GPU 20、30系列显卡加速(CUDA 11.8)pip install torch==2.1.2 torchvision==0.16.2 -i https://pypi.tuna.tsinghua.edu.cn/simple --index-url https://download.pytorch.org/whl/cu118# GPU 40系列显卡加速(CUDA 12.1)pip install torch==2.1.2 torchvision==0.16.2 -i https://pypi.tuna.tsinghua.edu.cn/simple --index-url https://download.pytorch.org/whl/cu121# GPU 50系列显卡加速(CUDA 12.8)pip install torch==2.7.1 torchvision==0.22.1 -i https://pypi.tuna.tsinghua.edu.cn/simple --index-url https://download.pytorch.org/whl/cu128# AMD GPU(仅 Linux)pip install torch==2.1.2 torchvision==0.16.2 --index-url https://download.pytorch.org/whl/rocm5.6
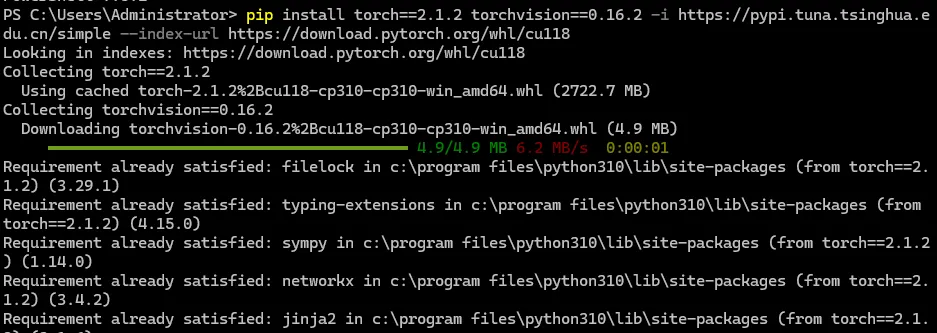
安装 IOPaint
pip install iopaint -i https://pypi.tuna.tsinghua.edu.cn/simple 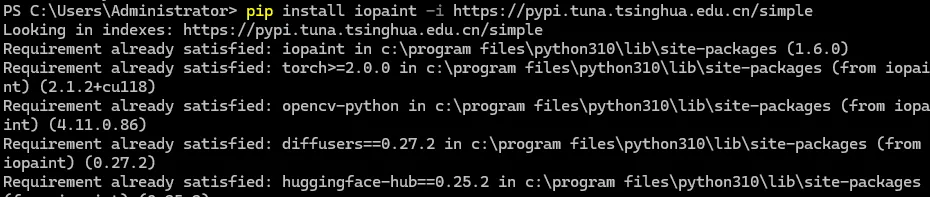
快速启动
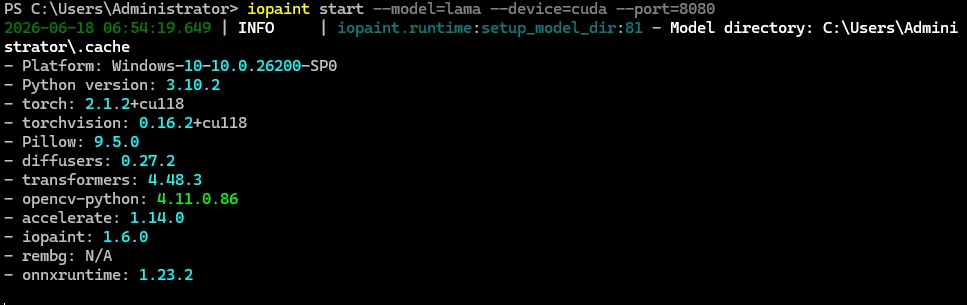
# CPU 模式(最简单) iopaint start --model=lama --device=cpu --port=8080 # GPU 加速 iopaint start --model=lama --device=cuda --port=8080 访问 http://localhost:8080,首次启动会下载模型
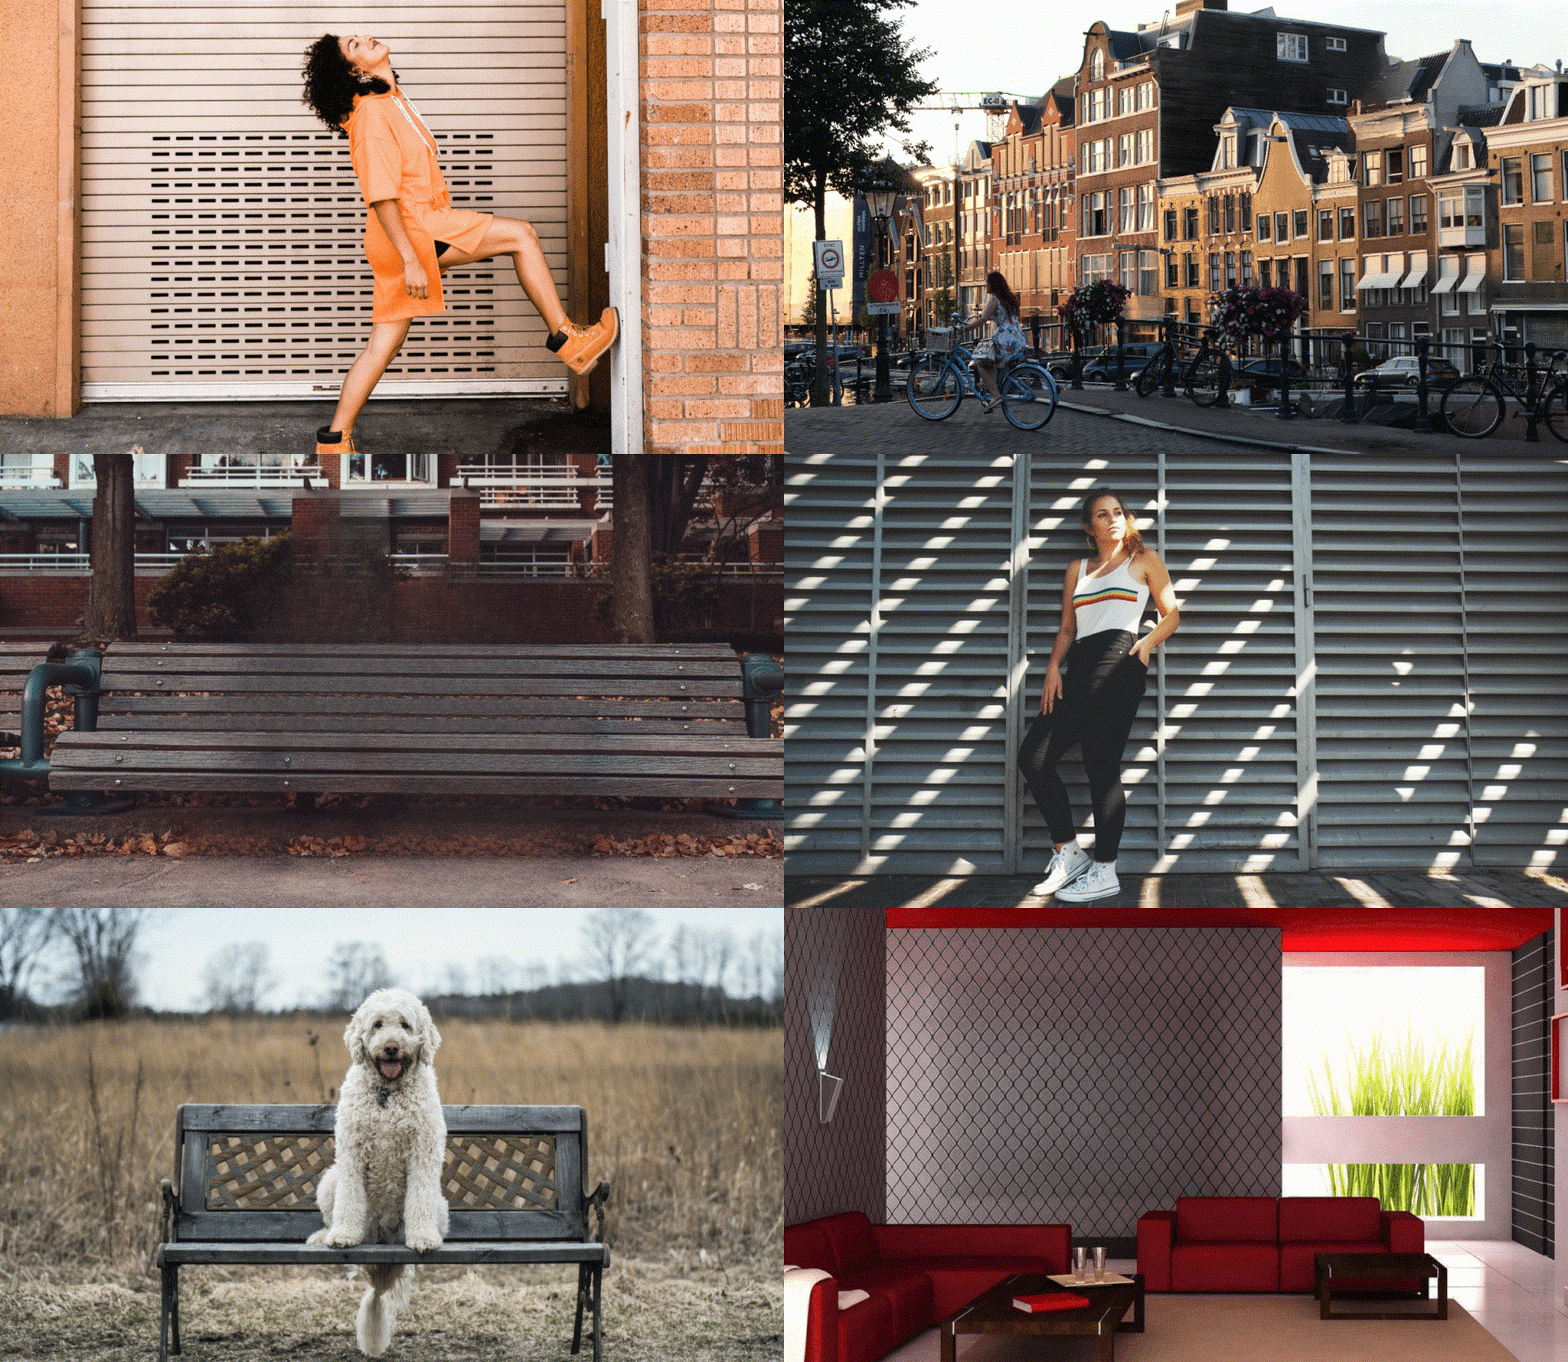
对比效果图
卸载卸载
pip uninstall iopaint # 模型缓存保留在 ~/.cache/ 下,需手动删除三、国内用户特别设置
HuggingFace 在国内下载模型可能遇到网络问题,推荐使用镜像:
# Linux / macOS HF_ENDPOINT=https://hf-mirror.com iopaint start # Windows(PowerShell)set HF_ENDPOINT=https://hf-mirror.com iopaint start 四、模型说明与选择
3 大类模型
IOPaint 支持的模型分为三大类:擦除模型、专用扩散模型、SD模型等。
擦除模型(Erase Models)
用于去除图片中不需要的物体、人物、水印、瑕疵。不需要写提示词,直接涂抹区域即可。

选择模型替换红色框内容即可
| LaMa | --model=lama | ||
| MAT | --model=mat | ||
| MIGAN | --model=migan | ||
| LDM | --model=ldm | ||
| ZITS | --model=zits | ||
| FcF | --model=fcf | ||
| Manga | --model=manga |
小白直接用
lama,效果稳定优秀。
专用扩散模型
| PowerPaintV2 | --model Sanster/PowerPaint-V2-stable-diffusion-inpainting | |
| AnyText | --model Sanster/AnyText | |
| Paint by Example | --model Fantasy-Studio/Paint-by-Example | |
| InstructPix2Pix | --model timbrooks/instruct-pix2pix |
五、插件功能详解
启动时通过参数启用插件:
# 启用多个插件示例 iopaint start \ --enable-interactive-seg --interactive-seg-device=cuda \ --enable-rembg \ --enable-gfpgan ⚠️ 大多数插件需要 torchvision,按 pytorch.org 安装对应版本。
插件列表
| Segment Anything | --enable-interactive-seg | |
| RemoveBG | --enable-rembg | |
| Anime Segmentation | --enable-anime-seg | |
| RealESRGAN | --enable-realesrgan | |
| GFPGAN | --enable-gfpgan | |
| RestoreFormer | --enable-restoreformer |
查看完整参数:iopaint start --help
六、使用方法
Web 界面操作流程
1. 启动后打开浏览器访问 http://localhost:80802. 左侧选择工具:Erase(擦除)/ Replace(替换)/ Outpaint(扩展)/ Text(文字)等 3. 用画笔涂抹要处理的区域 4. 点击「生成」等待 AI 处理 5. 处理完成后点击「下载」保存
命令行单张处理
iopaint run \ --model=lama \ --image=input.png \ --mask=mask.png \ --output=output_dir/ • mask.png:白色=要修复的区域,黑色=保留的区域
命令行批处理
iopaint run \ --model=lama --device=cpu \ --image=/path/to/image_folder \ --mask=/path/to/mask_folder \ --output=output_dir/ • --mask如果指定为单个文件,则所有图片共用该掩码
七、命令速查表
# 最简单启动(CPU + LaMa)iopaint start --model=lama --device=cpu --port=8080# GPU 加速iopaint start --model=lama --device=cuda --port=8080# 启用交互分割 + 抠背景 + 人脸修复iopaint start --enable-interactive-seg --enable-rembg --enable-gfpgan# 指定模型和下载目录(避免中文路径问题)iopaint start --model=runwayml/stable-diffusion-inpainting --model-dir=D:/iopaint_models# 国内镜像加速setHF_ENDPOINT=https://hf-mirror.com iopaint start --model=lama# 16xx 显卡防黑屏iopaint start --model=lama --no-half# 命令行批处理iopaint run --model=lama --image=./input --mask=./mask.png --output=./output# 查看所有参数iopaint start --helpiopaint run --help
八、使用场景推荐配置
Windows 安装脚本
脚本有bug,在安装使用会出现问题,小编让AI修复,但是无法打包,感兴趣的
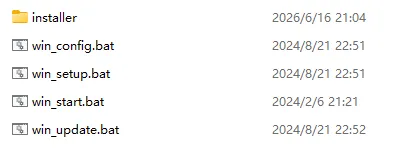
关注公众号回复「IOPaint AI Windows安装脚本」获得
小编只整理了一部分,lama模型最常用,去水印、瑕疵、杂物等,每个模型都有其擅长的部分,感兴趣的可以阅读官方文档。
注:
1. 资源收集于网络,仅做学习和交流使用,请于下载后24小时内删除。 2. 本站发布的内容若侵犯到您的权益,请联系删除。