 夜雨聆风
夜雨聆风





调用github app获取token下载代码
mkdir python_democd python_demoapt install -y python3-pip 安装pip3pip3 install --break-system-packages pyjwt requests cryptography
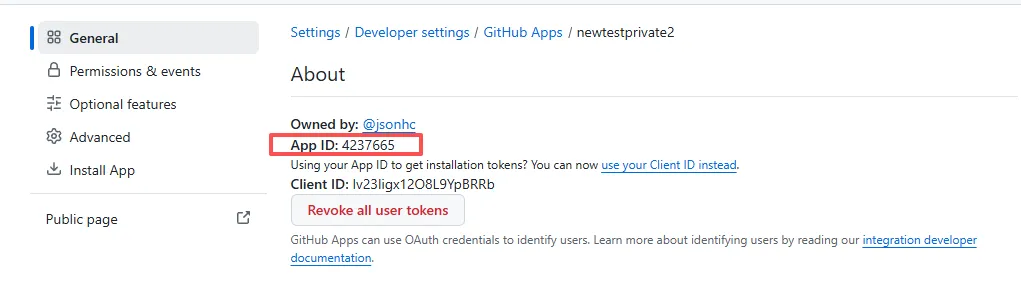
root@chasel:~/python_demo# cat test.pyimport jwtimport timeimport requestsfrom pathlib import Path# ========== 配置 ==========APP_ID = "4237665" # GitHub App IDPRIVATE_KEY_PATH = "/root/new-key.pem" # PKCS#8 格式私钥INSTALLATION_ID = "144979194" # App 安装 ID# ========== 1. 生成 JWT ==========def generate_jwt(app_id: str, private_key_path: str) -> str:with open(private_key_path, "r") as f:private_key = f.read()now = int(time.time())payload = {"iat": now, # 签发时间"exp": now + 600, # 过期时间(GitHub 要求 ≤ 10 分钟)"iss": app_id # GitHub App ID}return jwt.encode(payload, private_key, algorithm="RS256")# ========== 2. 获取 Installation Access Token ==========def get_installation_token(jwt_token: str, installation_id: str) -> str:url = f"https://api.github.com/app/installations/{installation_id}/access_tokens"headers = {"Authorization": f"Bearer {jwt_token}","Accept": "application/vnd.github.v3+json"}resp = requests.post(url, headers=headers)resp.raise_for_status()return resp.json()["token"]# ========== 3. 使用 Token(示例:获取仓库信息) ==========def get_repo(token: str, owner: str, repo: str):url = f"https://api.github.com/repos/{owner}/{repo}"headers = {"Authorization": f"token {token}","Accept": "application/vnd.github.v3+json"}return requests.get(url, headers=headers).json()# ========== 主流程 ==========if __name__ == "__main__":jwt_token = generate_jwt(APP_ID, PRIVATE_KEY_PATH)access_token = get_installation_token(jwt_token, INSTALLATION_ID)print(f"Token: {access_token[:40]}...")# 用 token 拉代码或调 API# git clone https://x-access-token:{access_token}@github.com/owner/repo.git
openssl pkcs8 -topk8 -inform PEM -outform PEM -in newtestprivate2.2026-07-07.private-key.pem -out new-key.pem -nocrypt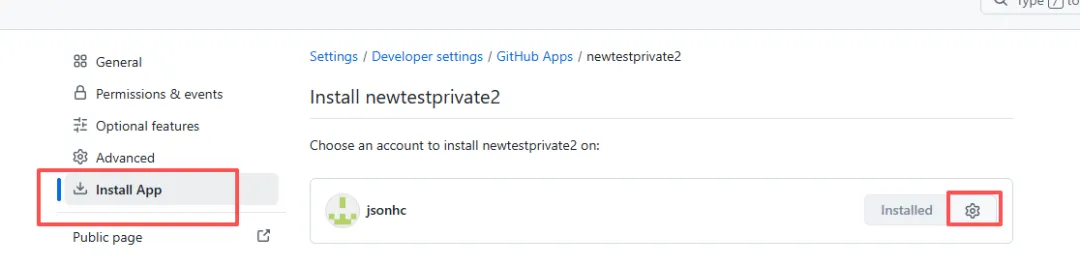

root@chasel:~/python_demo# python3 test.pyToken: ghs_su4cHlAqkVxS2n7SCQiBhS8pQjSzdY3RLFrk...
root@chasel:~/python_demo# git clone https://x-access-token:ghs_su4cHlAqkVxS2n7SCQiBhS8pQjSzdY3RLFrk@github.com/jsonhc/kubernetes-note.gitCloning into 'kubernetes-note'...remote: Enumerating objects: 34, done.remote: Counting objects: 100% (34/34), done.remote: Compressing objects: 100% (29/29), done.remote: Total 34 (delta 7), reused 0 (delta 0), pack-reused 0 (from 0)Receiving objects: 100% (34/34), 61.62 KiB | 77.00 KiB/s, done.Resolving deltas: 100% (7/7), done.
pipeline {agent anystages {stage('Checkout') {steps {git(url: 'https://github.com/jsonhc/kubernetes-note.git',branch: 'main',credentialsId: 'testgithubapp' // 你的 GitHub App 凭据 ID)}}}}
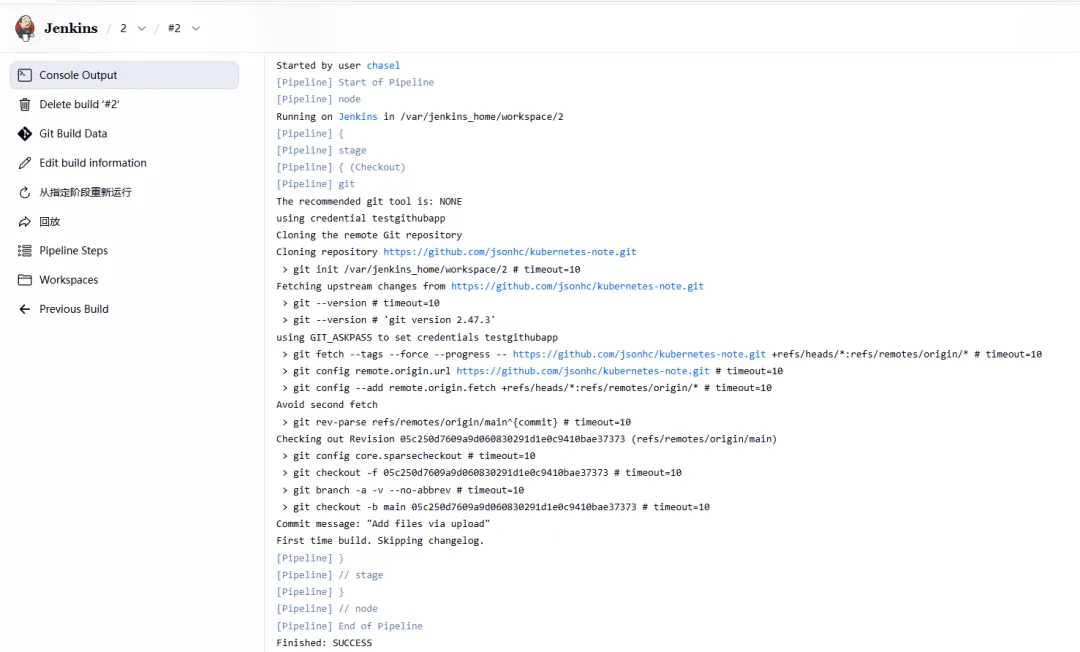
root@chasel:/var/lib/jenkins/workspace/2# ls -ltotal 16-rw-r--r-- 1 root root 17 Jul 9 12:12 README.md-rw-r--r-- 1 root root 4426 Jul 9 12:12 metallbdrwxr-xr-x 2 root root 4096 Jul 9 12:12 metallbfiles

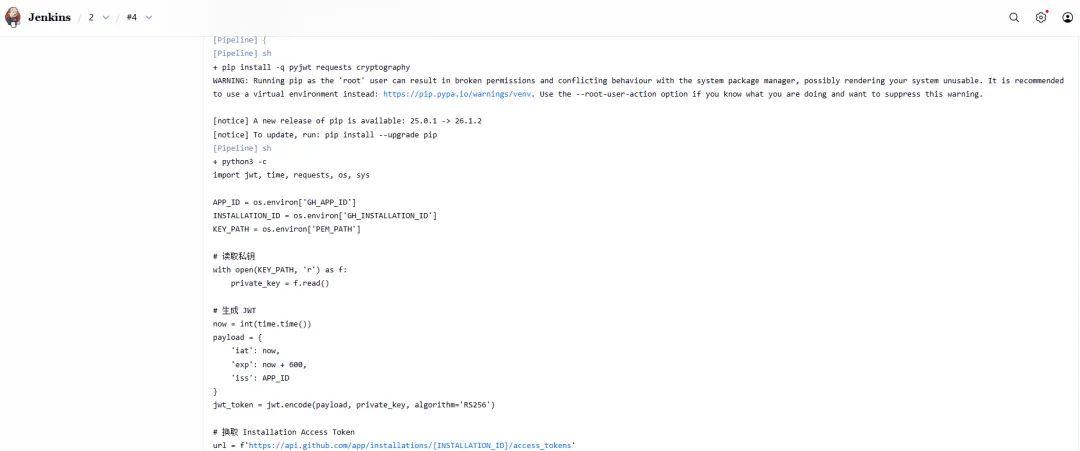
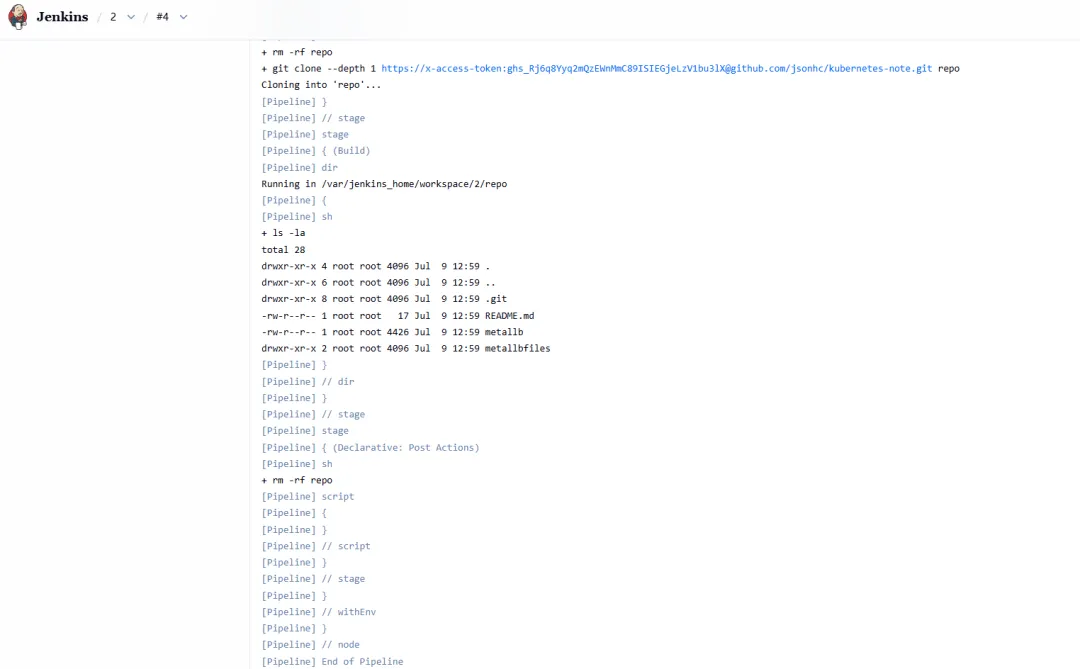
pipeline {agent anyenvironment {GH_APP_ID = '4237665' // 你的 GitHub App ID(纯数字)GH_INSTALLATION_ID = '144979194' // Installation ID(纯数字)GH_REPO = 'github.com/jsonhc/kubernetes-note.git'}stages {stage('Generate Token via Python') {agent {docker {image 'python:3.12-slim'}}steps {// 挂载私钥文件到容器内 /tmp/key.pemwithCredentials([file(credentialsId: 'githubapprivate', variable: 'PEM_PATH')]) {script {// 安装依赖sh 'pip install -q pyjwt requests cryptography'// 内联 Python 脚本生成 Tokendef githubToken = sh(script: '''python3 -c "import jwt, time, requests, os, sysAPP_ID = os.environ['GH_APP_ID']INSTALLATION_ID = os.environ['GH_INSTALLATION_ID']KEY_PATH = os.environ['PEM_PATH']# 读取私钥with open(KEY_PATH, 'r') as f:private_key = f.read()# 生成 JWTnow = int(time.time())payload = {'iat': now,'exp': now + 600,'iss': APP_ID}jwt_token = jwt.encode(payload, private_key, algorithm='RS256')# 换取 Installation Access Tokenurl = f'https://api.github.com/app/installations/{INSTALLATION_ID}/access_tokens'headers = {'Authorization': f'Bearer {jwt_token}','Accept': 'application/vnd.github.v3+json'}resp = requests.post(url, headers=headers)resp.raise_for_status()token = resp.json()['token']# 只输出 token,供 Pipeline 捕获print(token)"''',returnStdout: true).trim()// 将 token 保存到环境变量,供后续 stage 使用env.GITHUB_TOKEN = githubTokenecho "Token generated: ${githubToken.take(40)}..."}}}}stage('Clone Repo') {steps {// 使用生成的 Token 拉代码sh '''rm -rf repogit clone --depth 1 https://x-access-token:${GITHUB_TOKEN}@${GH_REPO} repo'''}}stage('Build') {steps {dir('repo') {sh 'ls -la'// 你的构建命令...}}}}post {always {// 清理 token,避免残留sh 'rm -rf repo || true'script {env.GITHUB_TOKEN = ''}}}}